
So first and foremost welcome to a new year and thank you for the amazing year behind us. I look forward to bringing you even more this year with more tutorials, events, and ways for fans to interact. Now to bring us back on track we left on this screen here where you hopefully saved…
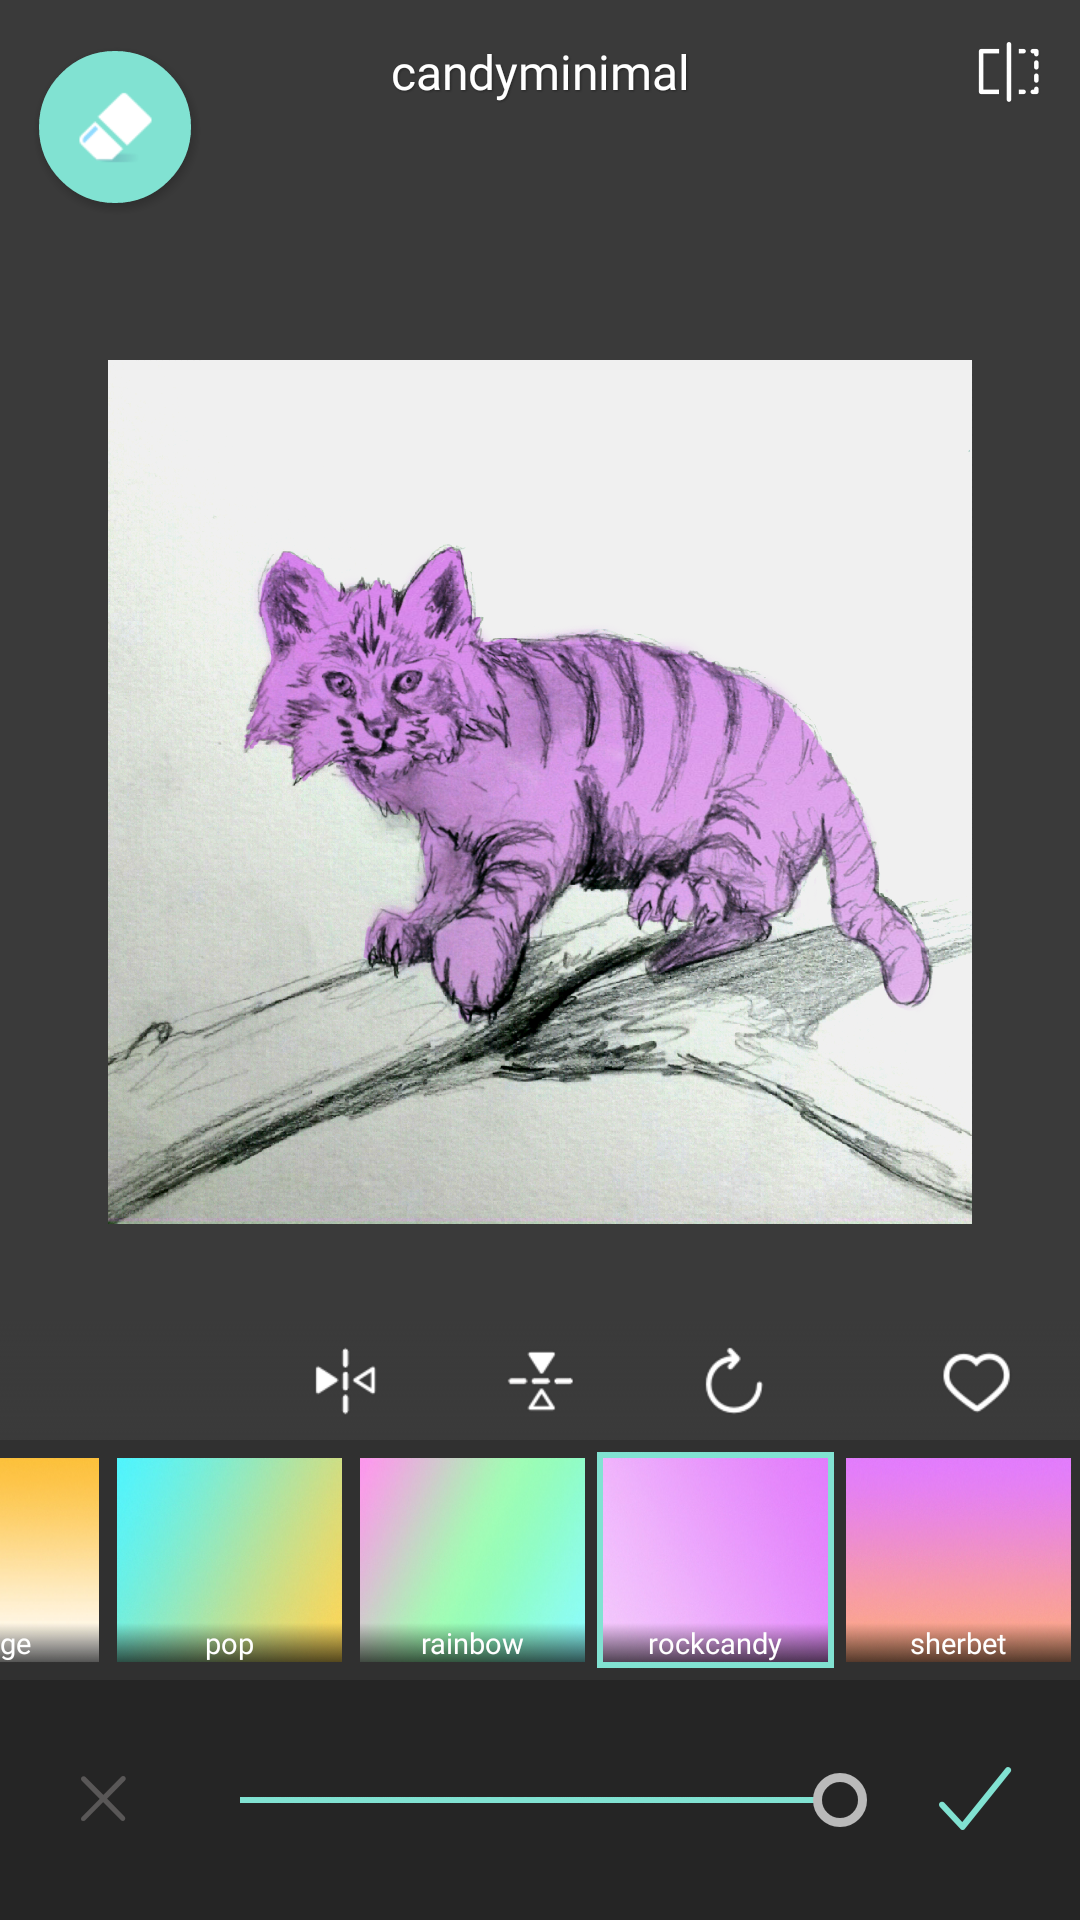
So either load up your saved image into Pixlr or continue 8f you ate doing this all in one sitting. The next step you want to do is click on the double circle menu like we discussed in part 1. Remember this menu?

Okay so now you are going to select the “double exposure” button at the top right. You should see this pop up.
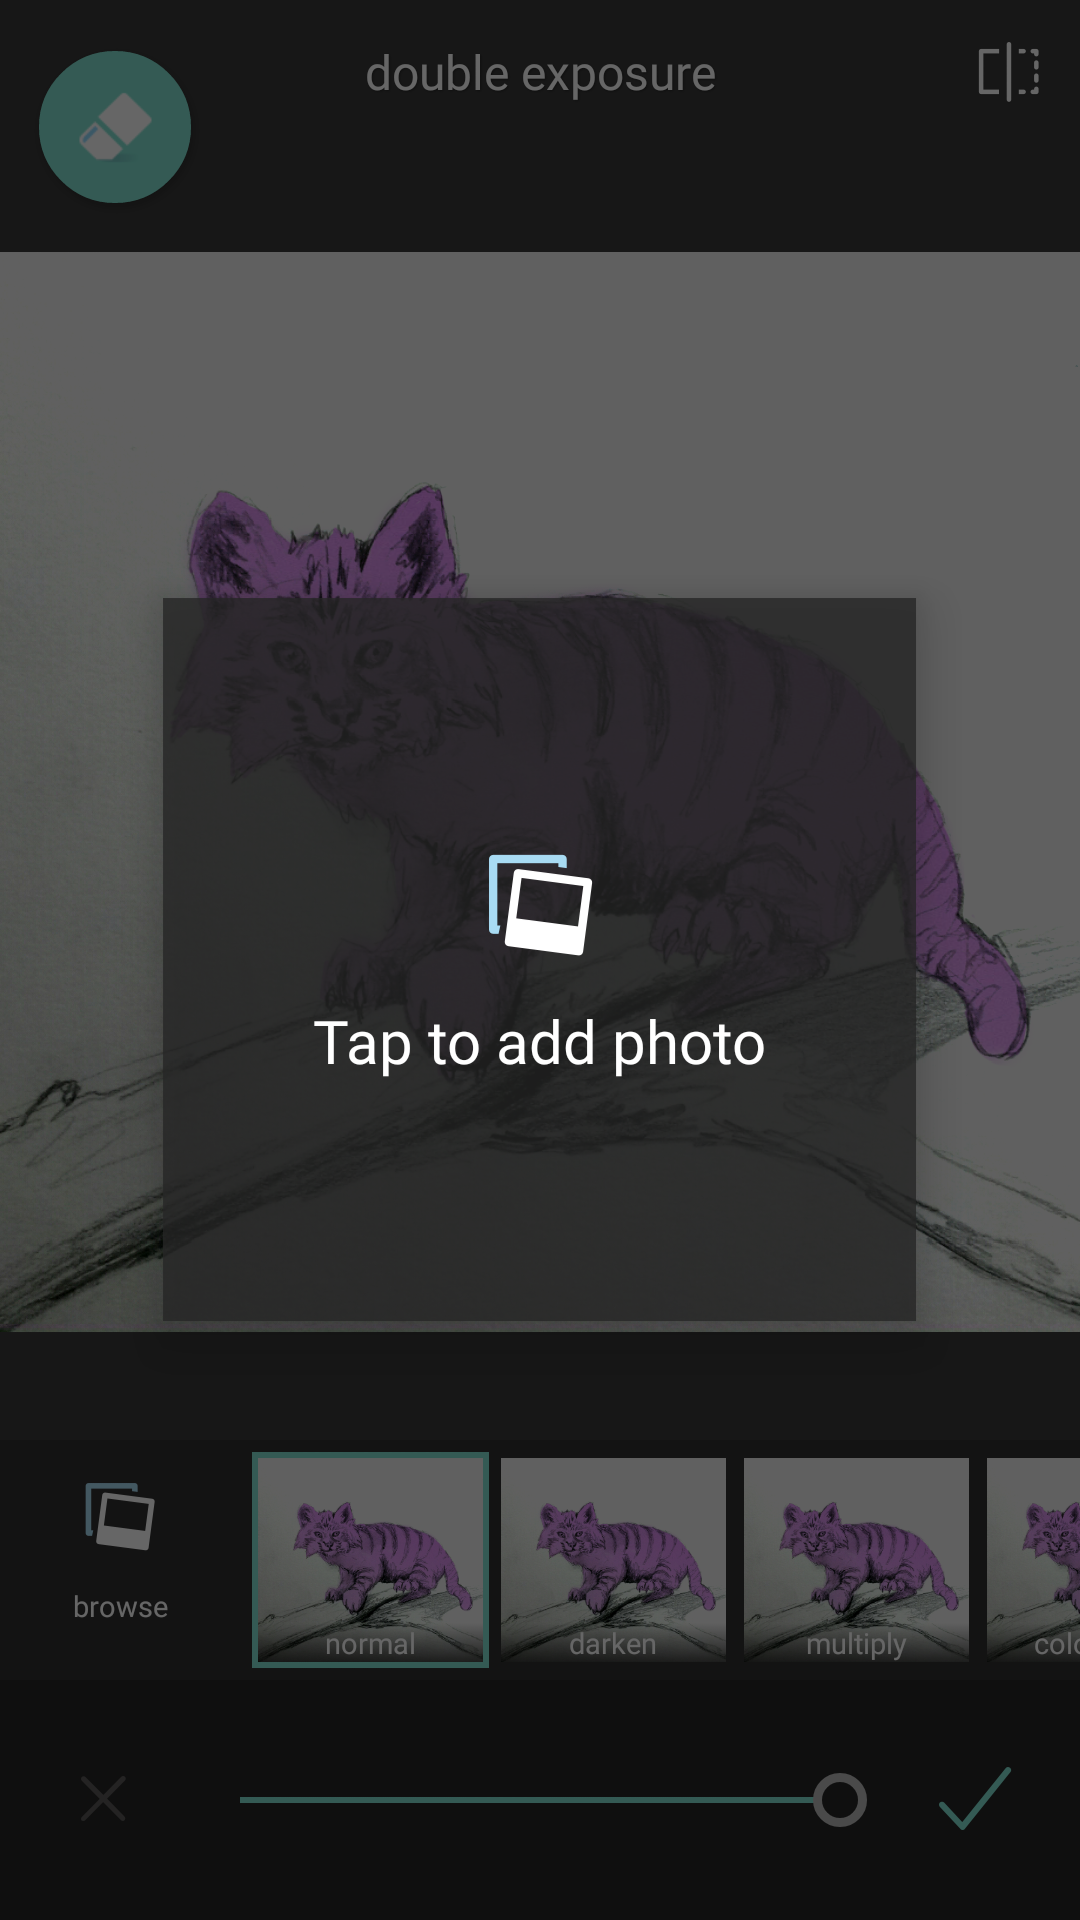
Tap in the box it asks you to tap on and it will give you your standard selection options for where you would like to pull an image from your phone. For most android users this will either be gallery or photos. Once you have selected and approved the image you are importing it will be downsized and dropped on your image like so.

DO NOT CLICK THE CHECK BOX YET!!!! There are two important steps here. First the image is sizable, movable, and able to rotated by your standard pinch, pull, and drag finger gestures. Once you have it filling the screen the way you like it on to the second thing you need to do before anything (again do not hit the check yet). See all those options… normal, darken, multiply? Start scrolling through those.
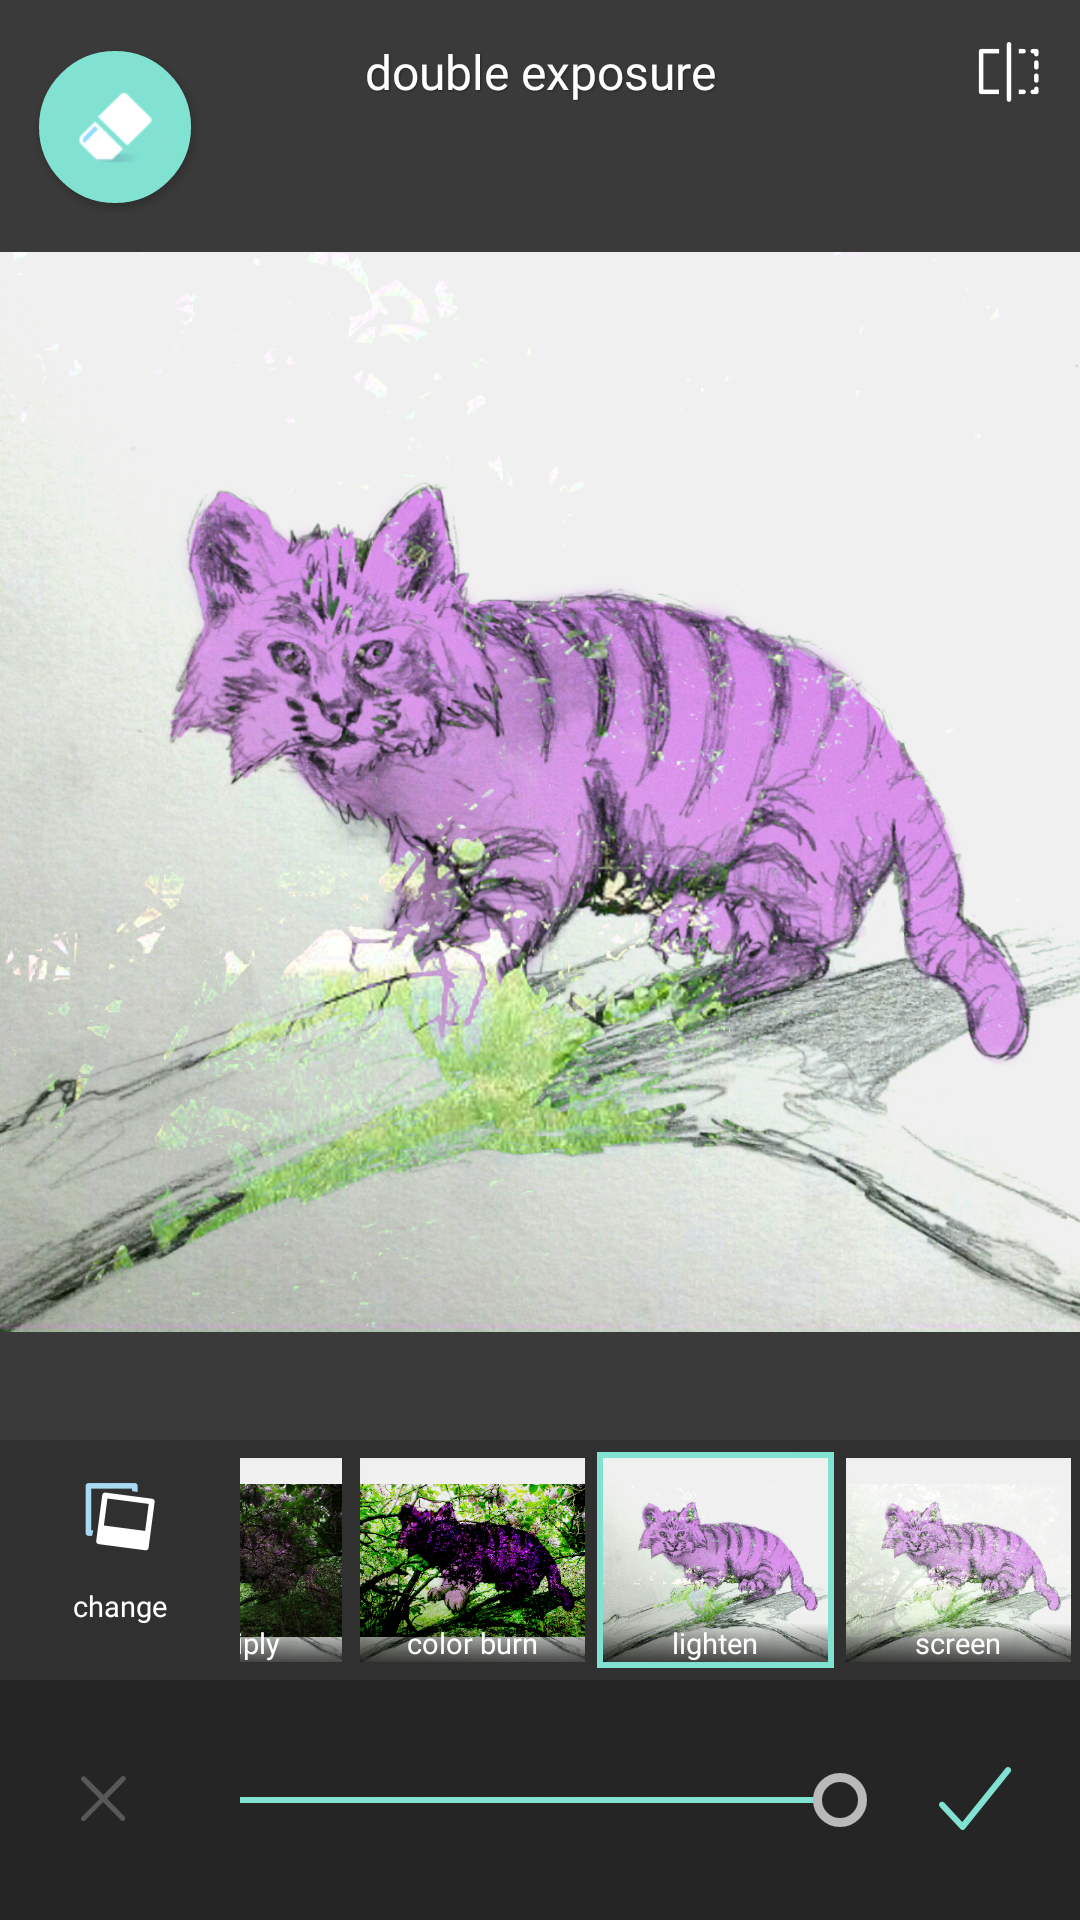
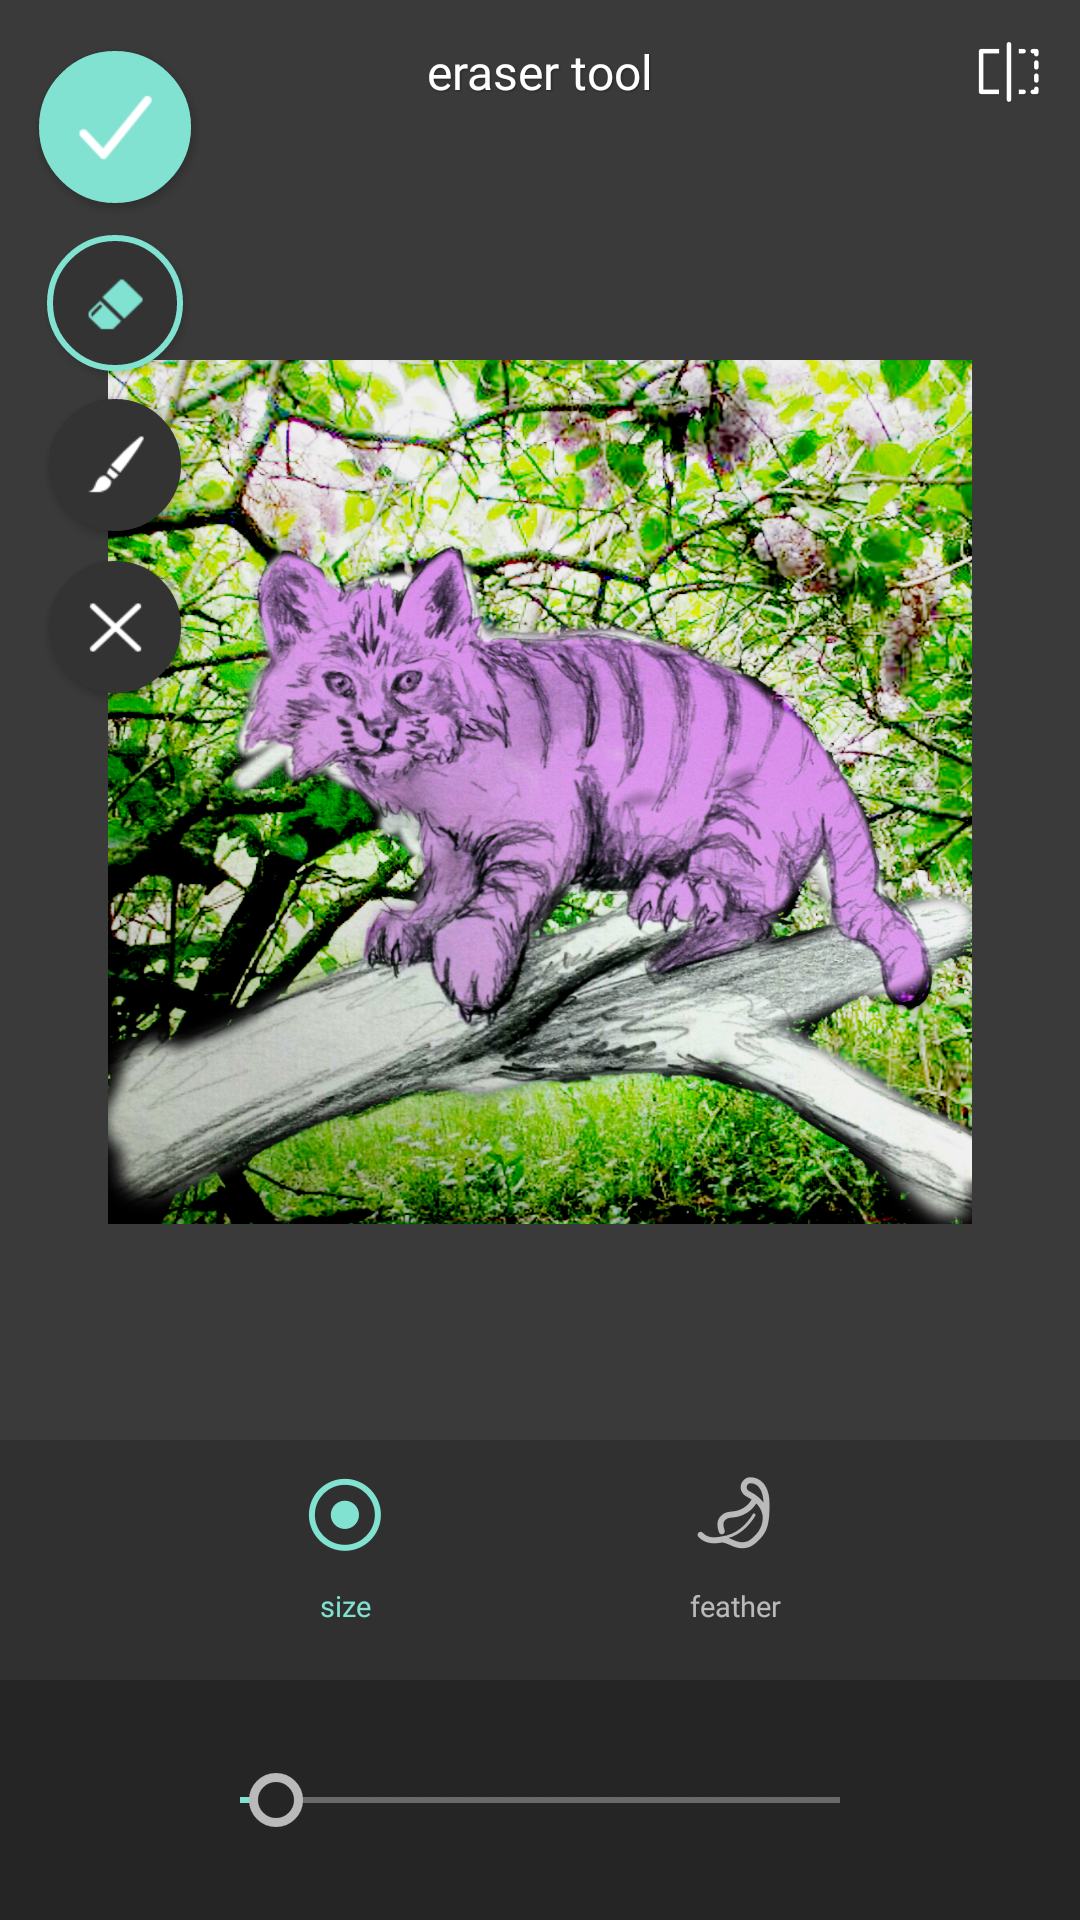
We are going to more often than not select lighten so we can see our drawing mostly with a little bit of background only. (Still don’t touch that arrow till I tell you) Next we are going to select that eraser toll again.
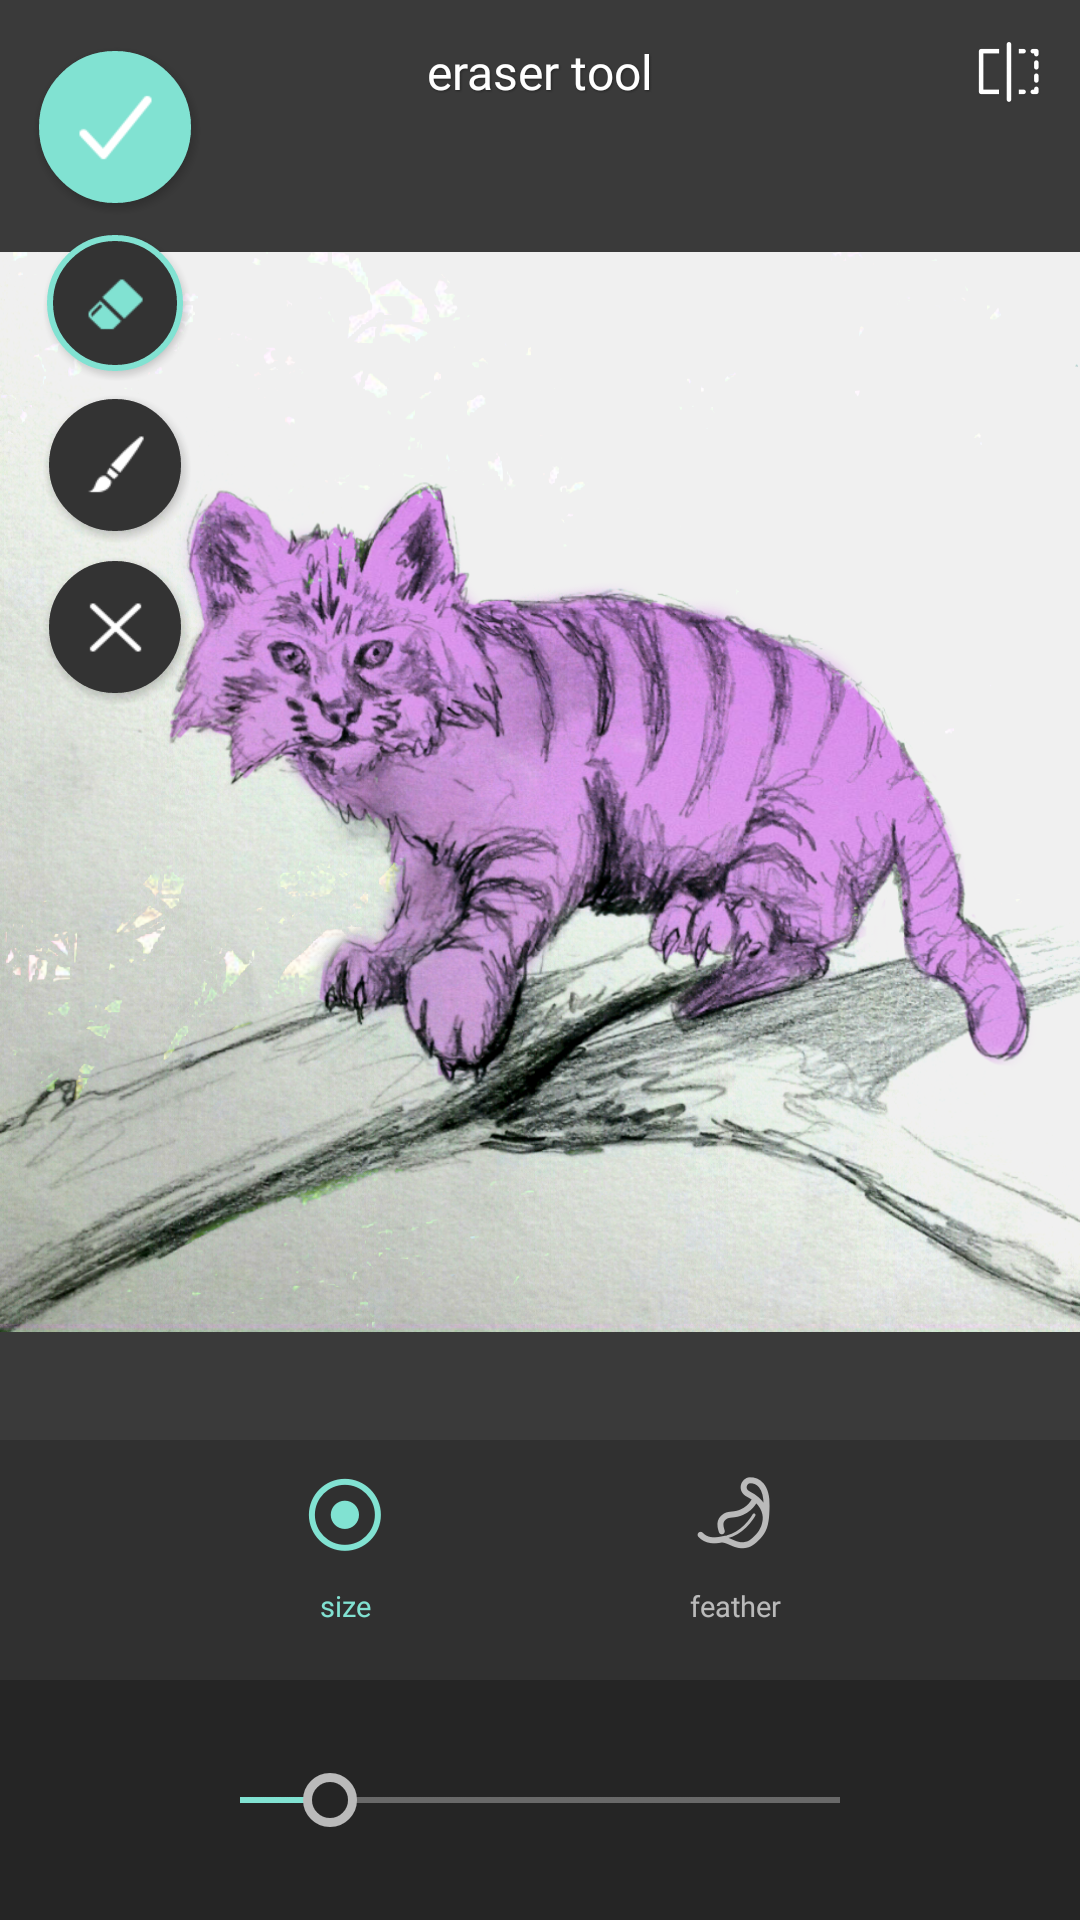
Making the brush small, erase just over the part of the image you do not want the background to bleed through. The image above you will see that I have done as best as I could but it’s hard to tell where I mave have missed. So now we want to swith the mode off of lighten.

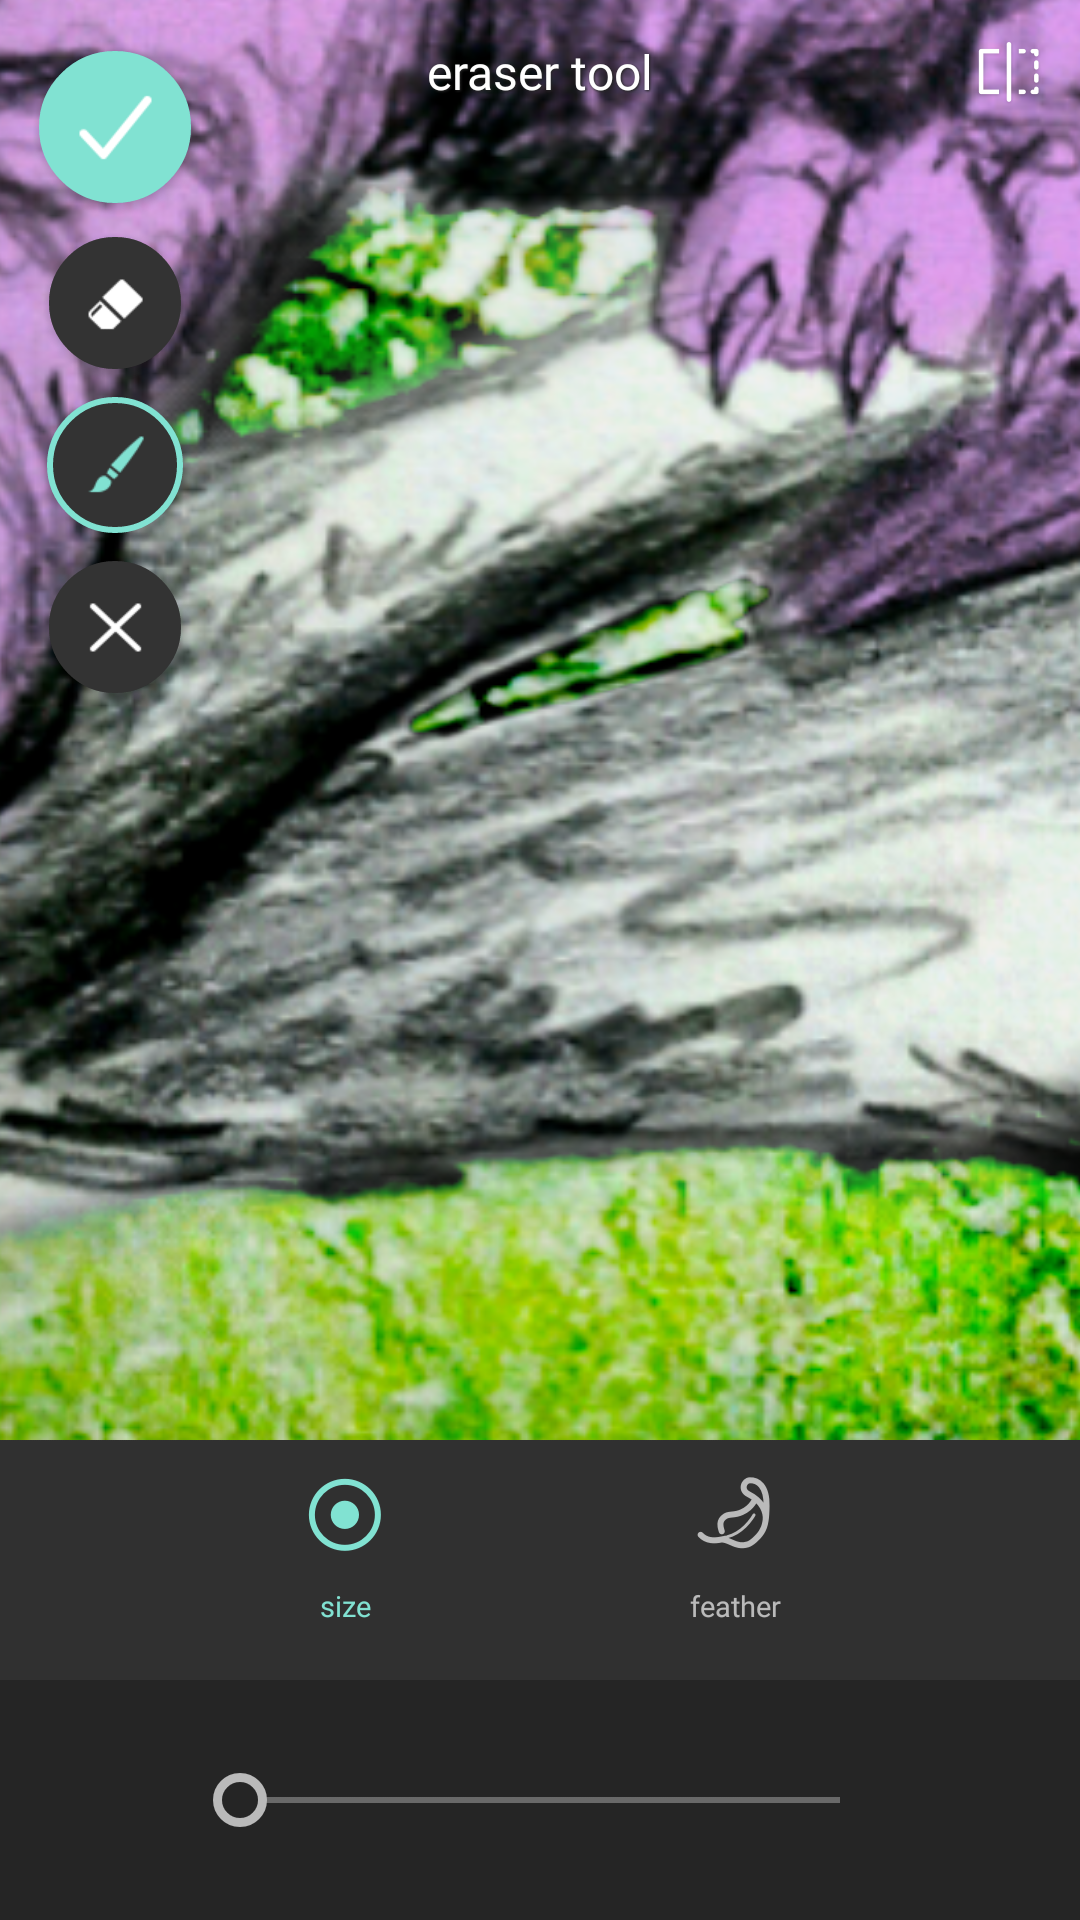
By selecting color burn you will notice the dark shadows over your drawing. Those are the spots missed in erasing. So once again go through and erase out the shadow areas.
It is okay if you go outside your drawing because just like before you can go in a repaint with detail to get right up to the line. Remember: It is easier to paint the background back on than it is to find the edge of your drawing.

Here you can see areas of the image still burned while other parts are being repainted up to the line. Don’t get discouraged as this may take a while.
Double check of an holes or windows your image should have to reveal the background.

Finally zoom out to make sure all looks good. Hit the check box for the erase tool in the upper left. You can one last time pinch, pull or drag the background to see if a different placement will work for you.

Make sure you save again and tomorrow we will bring the branch and cat to life with more depth and color accent. See you on the next page my friends…

Leave a comment