Elcome back for the 4th installment of this webinar on making your art Instaglam! So let’s jump right to it.

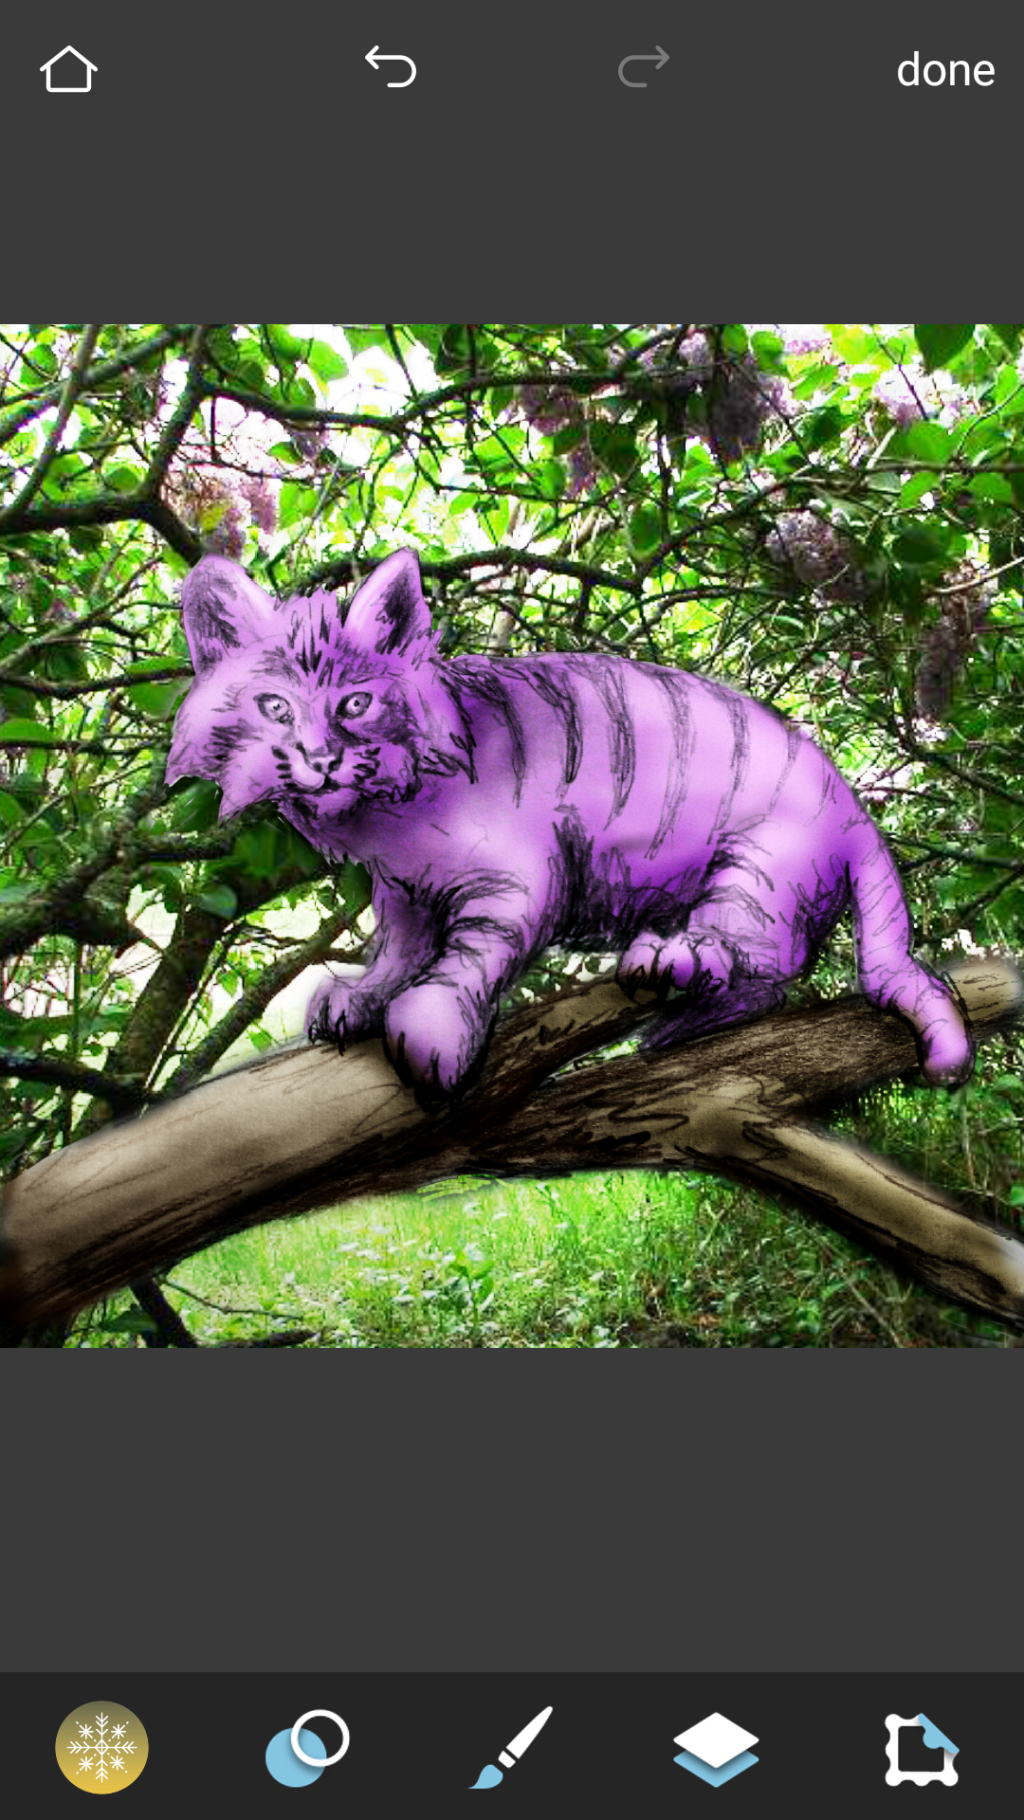
We last left off with our purple cat sitting on a white branch with background. We still have a lot we can do considering there is a white branch that can use some color, the cat is feeling a bit flat and the background is clearly a super imposed image. So let’s start with the branch.

Let’s go back to that double layer menu and scroll to the right till we hit the Unicolor tab. I scrolled down here to Kirsten because I like that color the most for the branch here.

Just like before we will go into erase and erase it all out and paint back just on the branch itself.

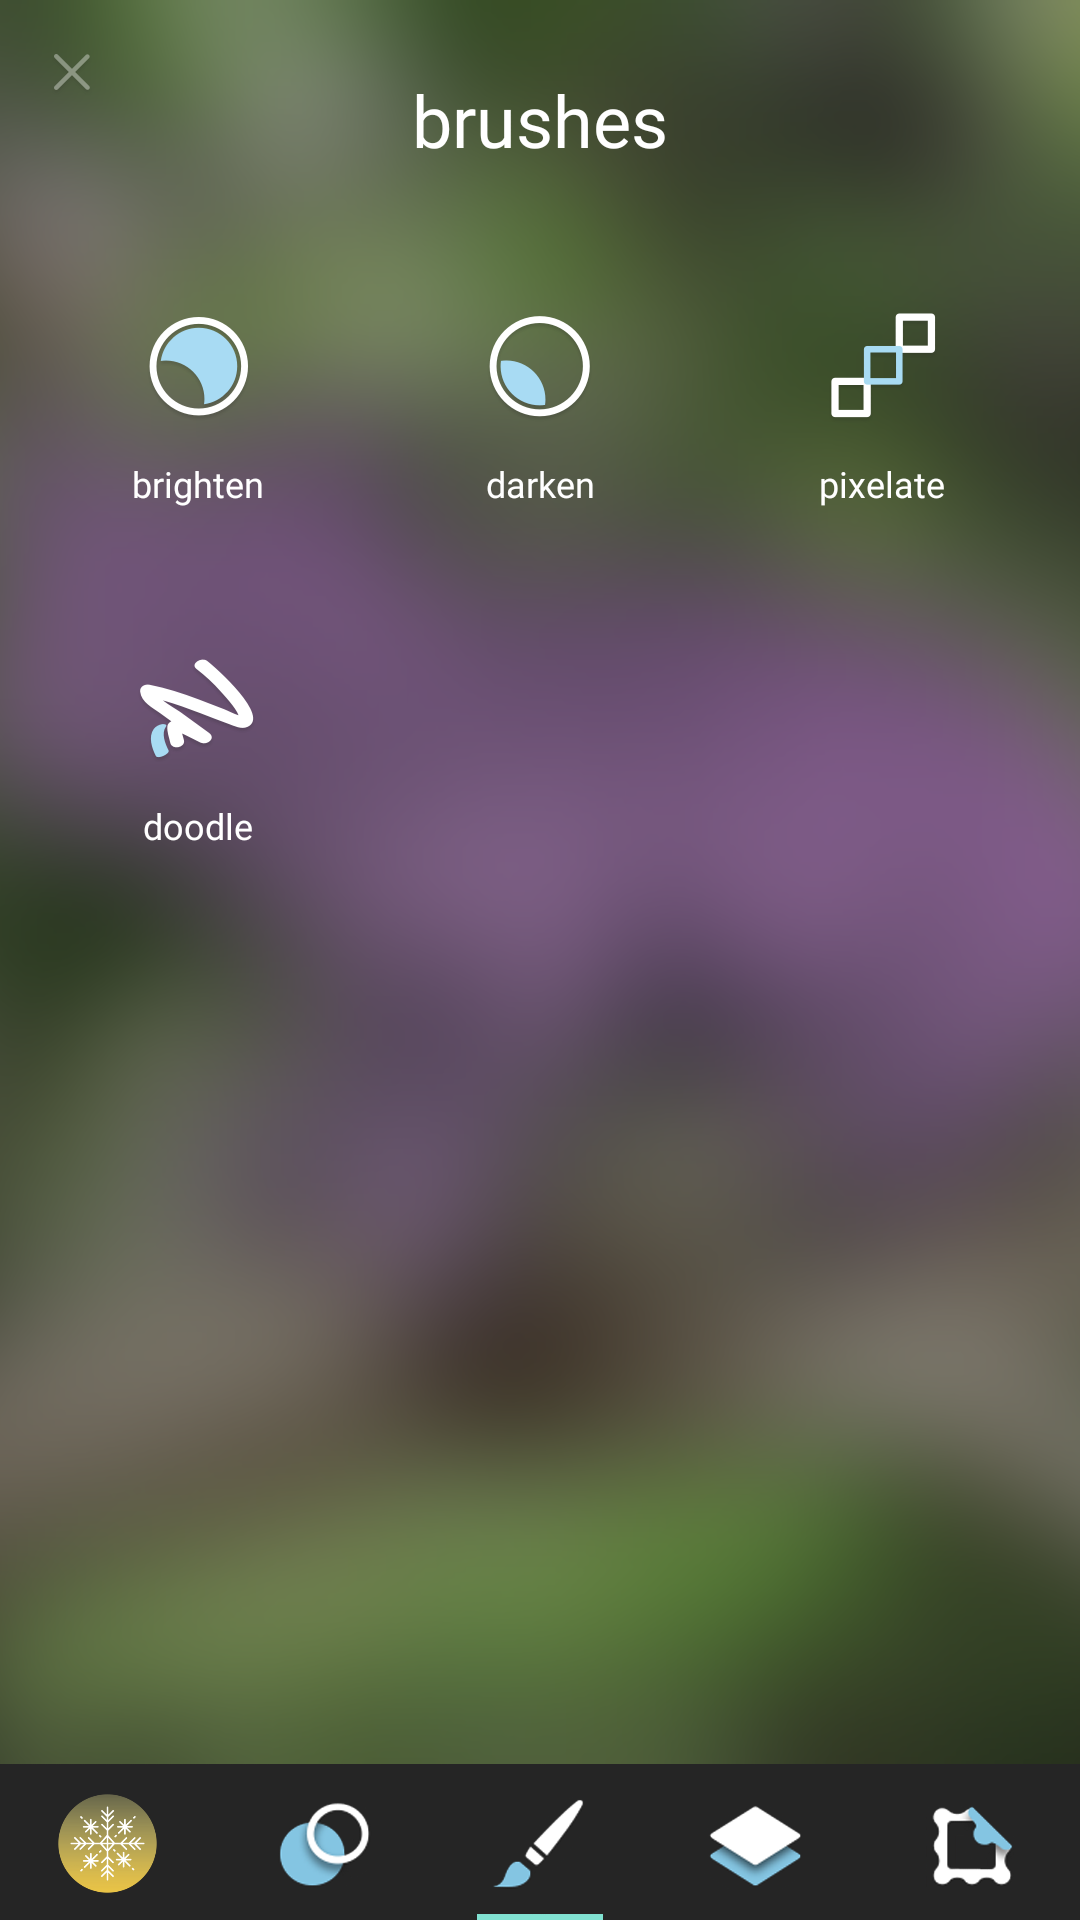
After painting I decided to switch to James instead of Kirsten because it looked more natural. Reminder: not only can you change the filter before hitting the check but you can also use the sliding bar to adjust translucency. Okay so now to do some thing about that flat feel. We are going to select the paintbrush in the bottom center.
There are two things we are going to use here. First is darken and then after we had some shadow we will use highlight to really bump the depth. So select the darken first.

Just like the erase tool you will see your size indicator cursor with the inner circle being your feather width. We want the widest feathering so every stroke is supper soft with no harsh edges. We also want to size down our brush.
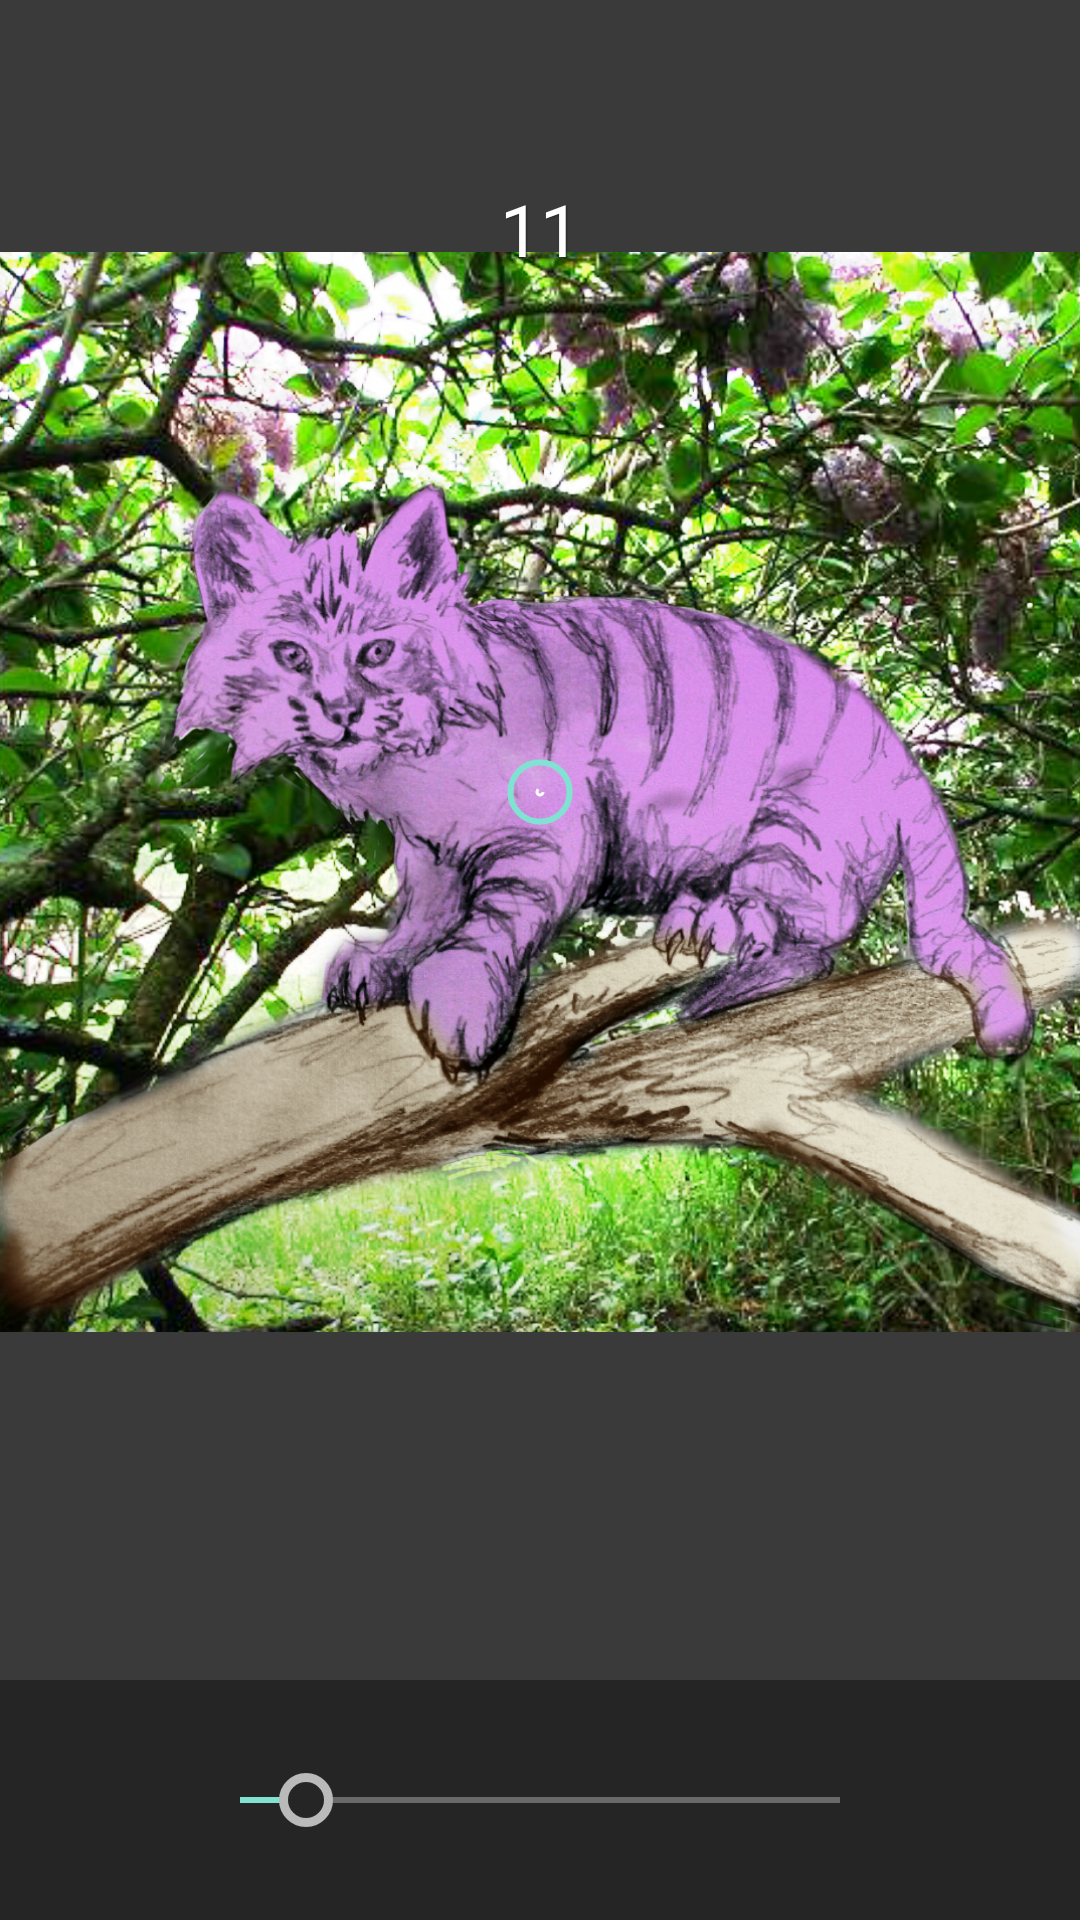
Having the brush at about this size start brushing where shadows should be. It acts as though a single layer with maximum tolerance so it can only get so dark and is uniform so that means if you want it darker you will have to hit the check mark, reelection the brush and darken and do another pass. You can then do the same with highlight as well.

This is after 2 passes of shadow and 1 of highlight. Highlight works much faster and is bolder so use sparingly. Shadows over lighter or white surfaces take a lot patients so just keep with it.

After several passes you can really shape your figure. You will also notice shading added to the branch including cast shadows made by the cat’s paws and body. This is essential in making sure your image does not fall flat and gives your image that extra pow depth factor.
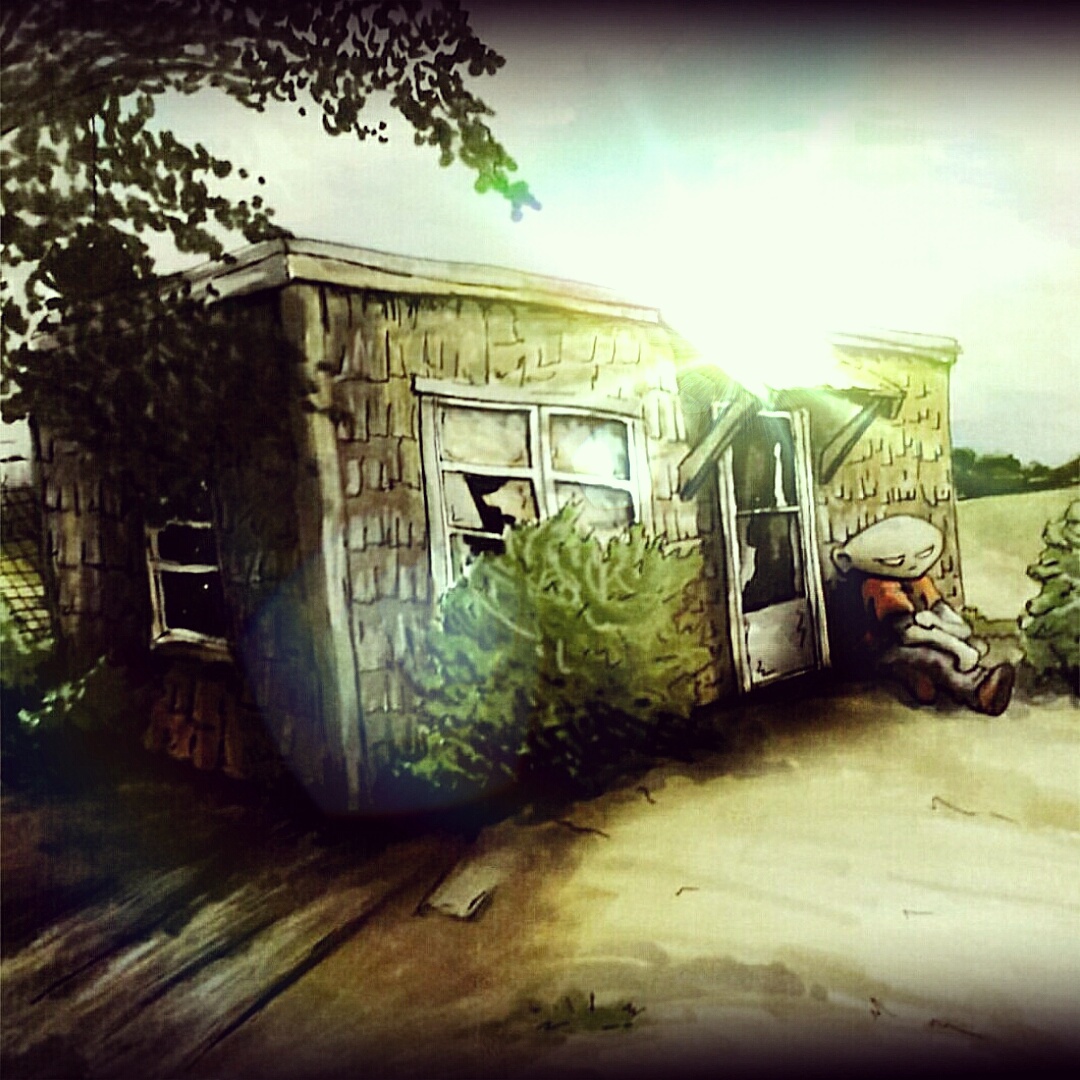
That is it for today but join me next time as we start to play with balancing the background and start playin with some effects. Till then I will also leave you with this digital touch up I did from Meteors n Milk chapter 0. Have a great day everyone and I will see you on the next page….

Leave a comment