SO last time we ended with the image looking like this…

Today I am going to push it in a specific direction to start wrapping things up. There are many directions it can be taken from here, but for the sake of certain effects I am going to push it towards a soft kitty warm kitty little ball of furtastic glow. Tomorrow will be the last installment so we are almost there my friends. So let’s begin!

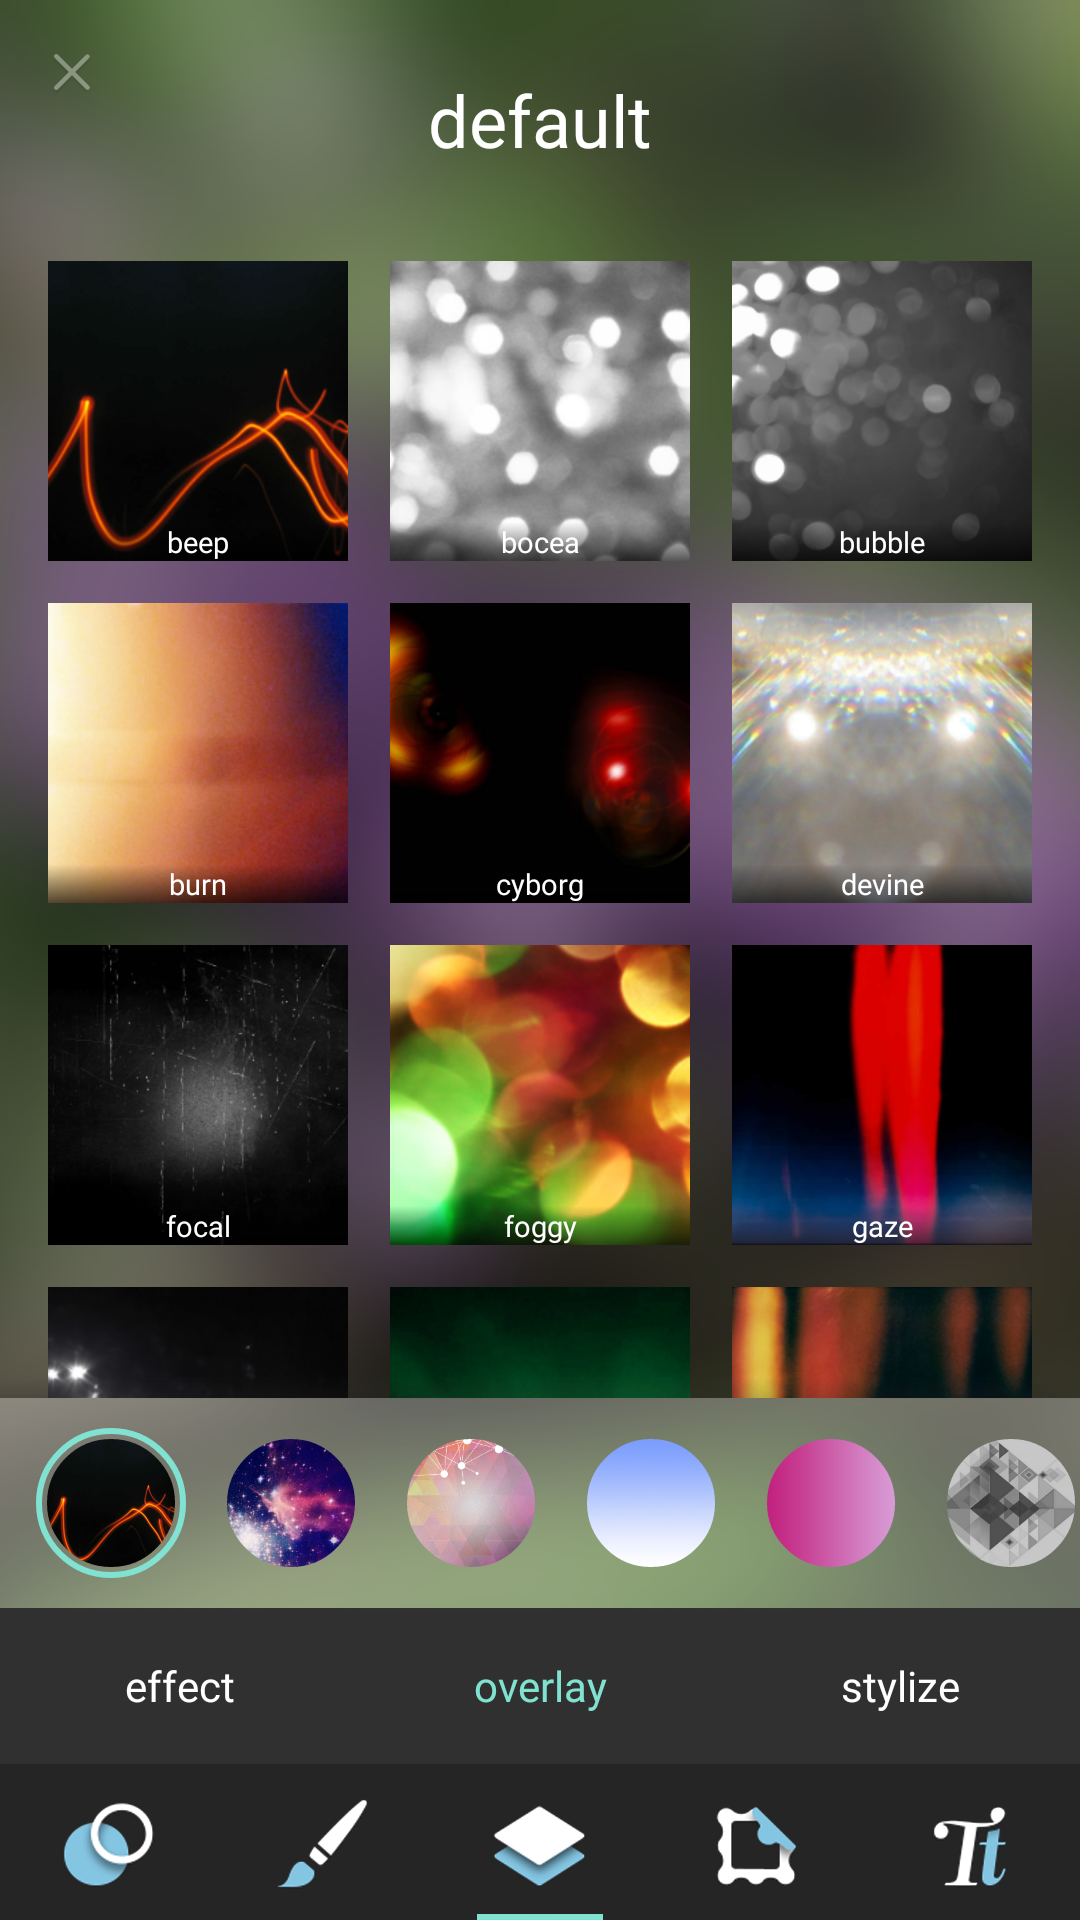
We are going to jumbo straight to effect under the layers tab. I am looking for an affect that helps pull the background and foreground together.
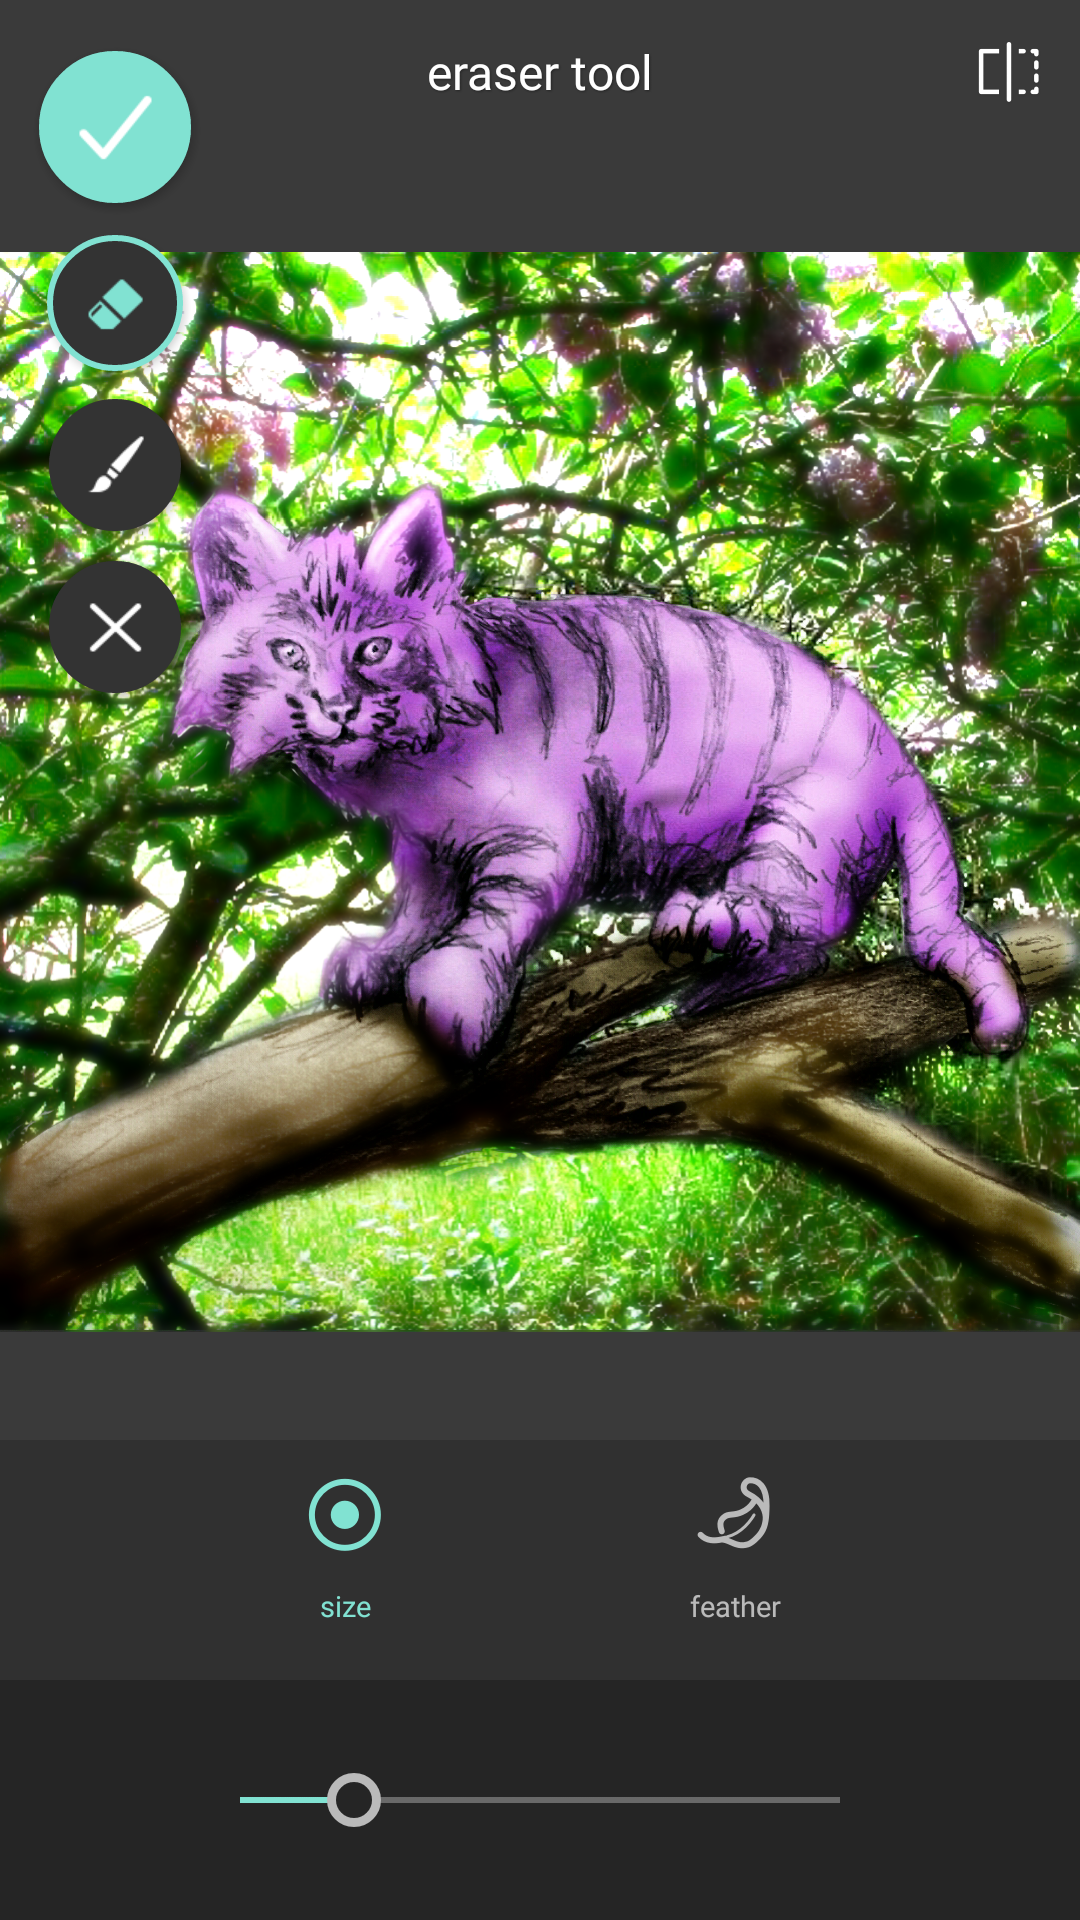
Once again I will erase out the cat and most of the branch because it is really the background that I want to shift to meet my needs. I erase the cat first because then I can switch between filters and see the ending effect better.

I like the glow and slight blur with vibrance that SARA gives so this will be my selection. Make your selection and proceed.
The next step will be to go under the stylize subtap by going to the right.
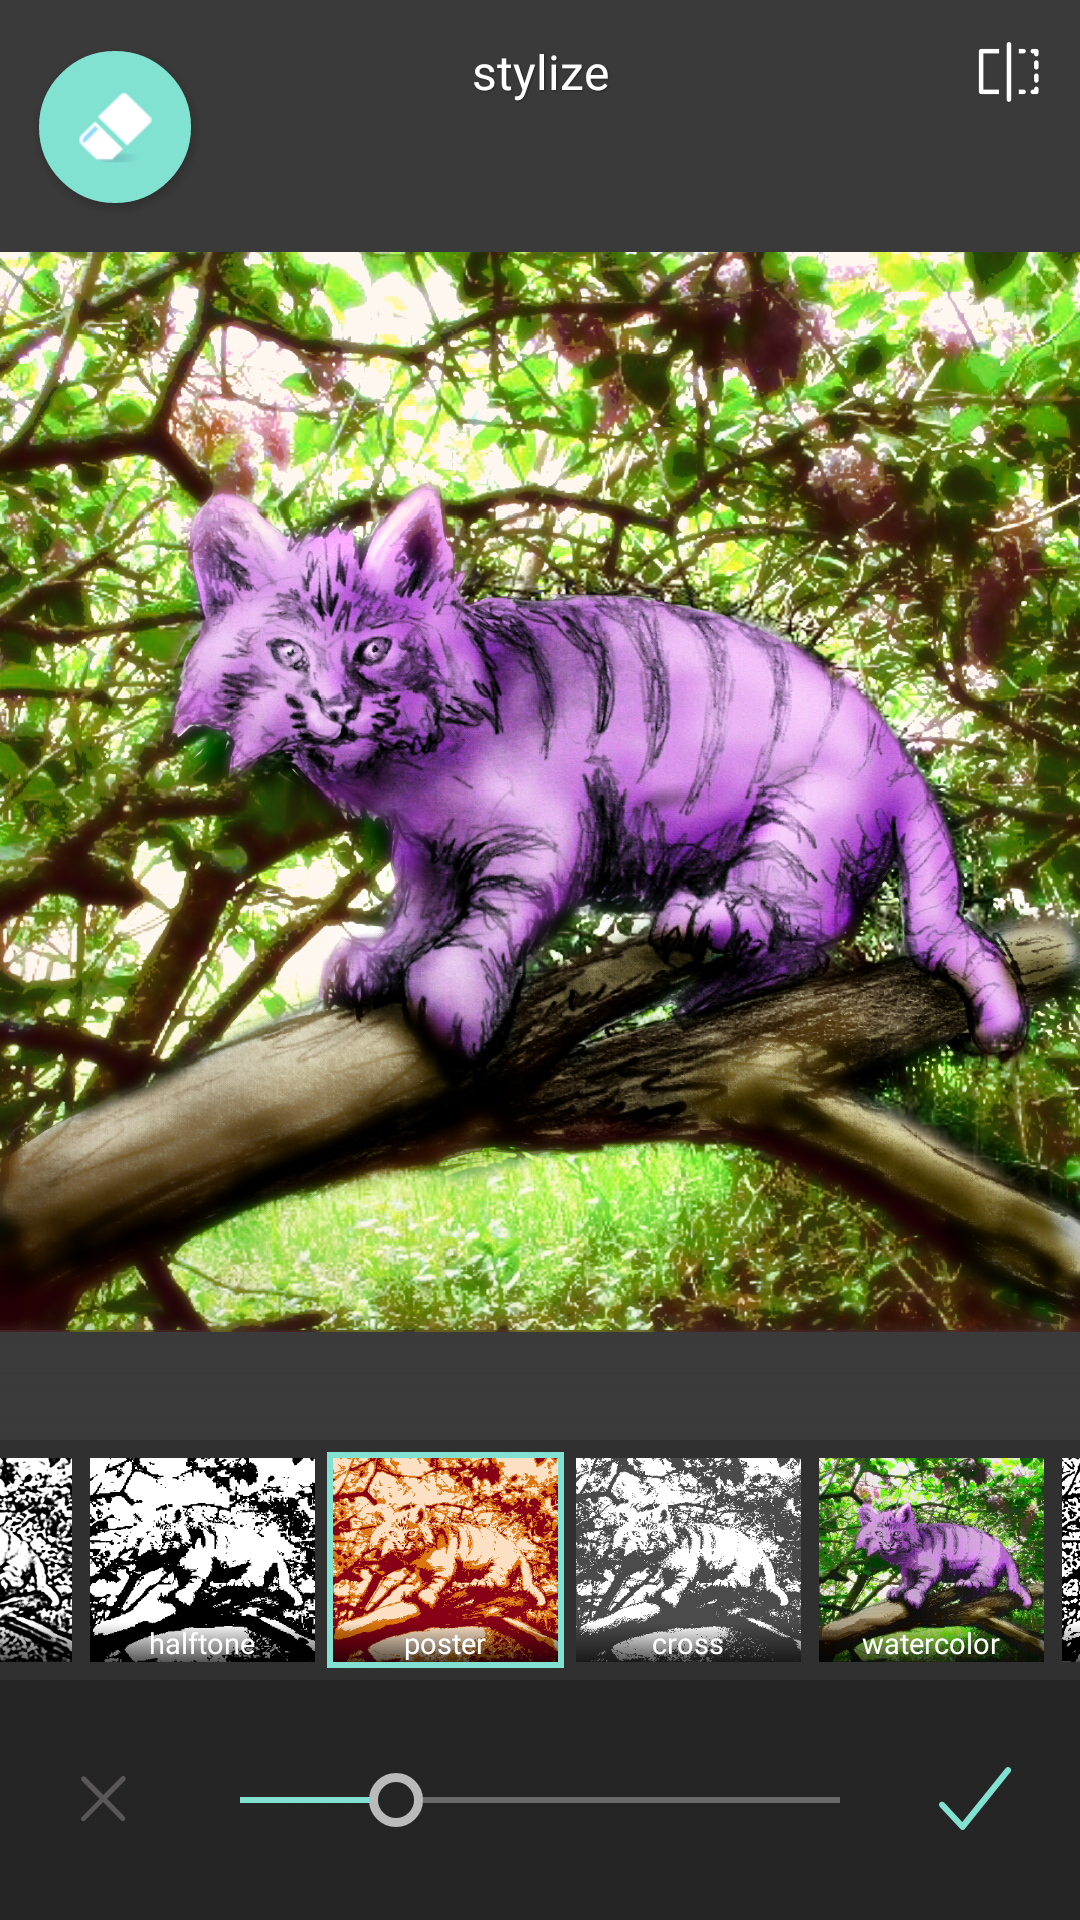
I am selecting poster and erased the foreground out again. I did this to bring some of those red browns into the shadows of the background in order to make more of a seemless transition into the foreground. Any colors you can accent to bounce between. The two will help bring it into a more scenic view and less superimposed. The same can be done with bold blacks however line variation and an over all cartoonist style will have to be balanced then. For the sake of keeping it simpler here this is the selection we will move forward with.

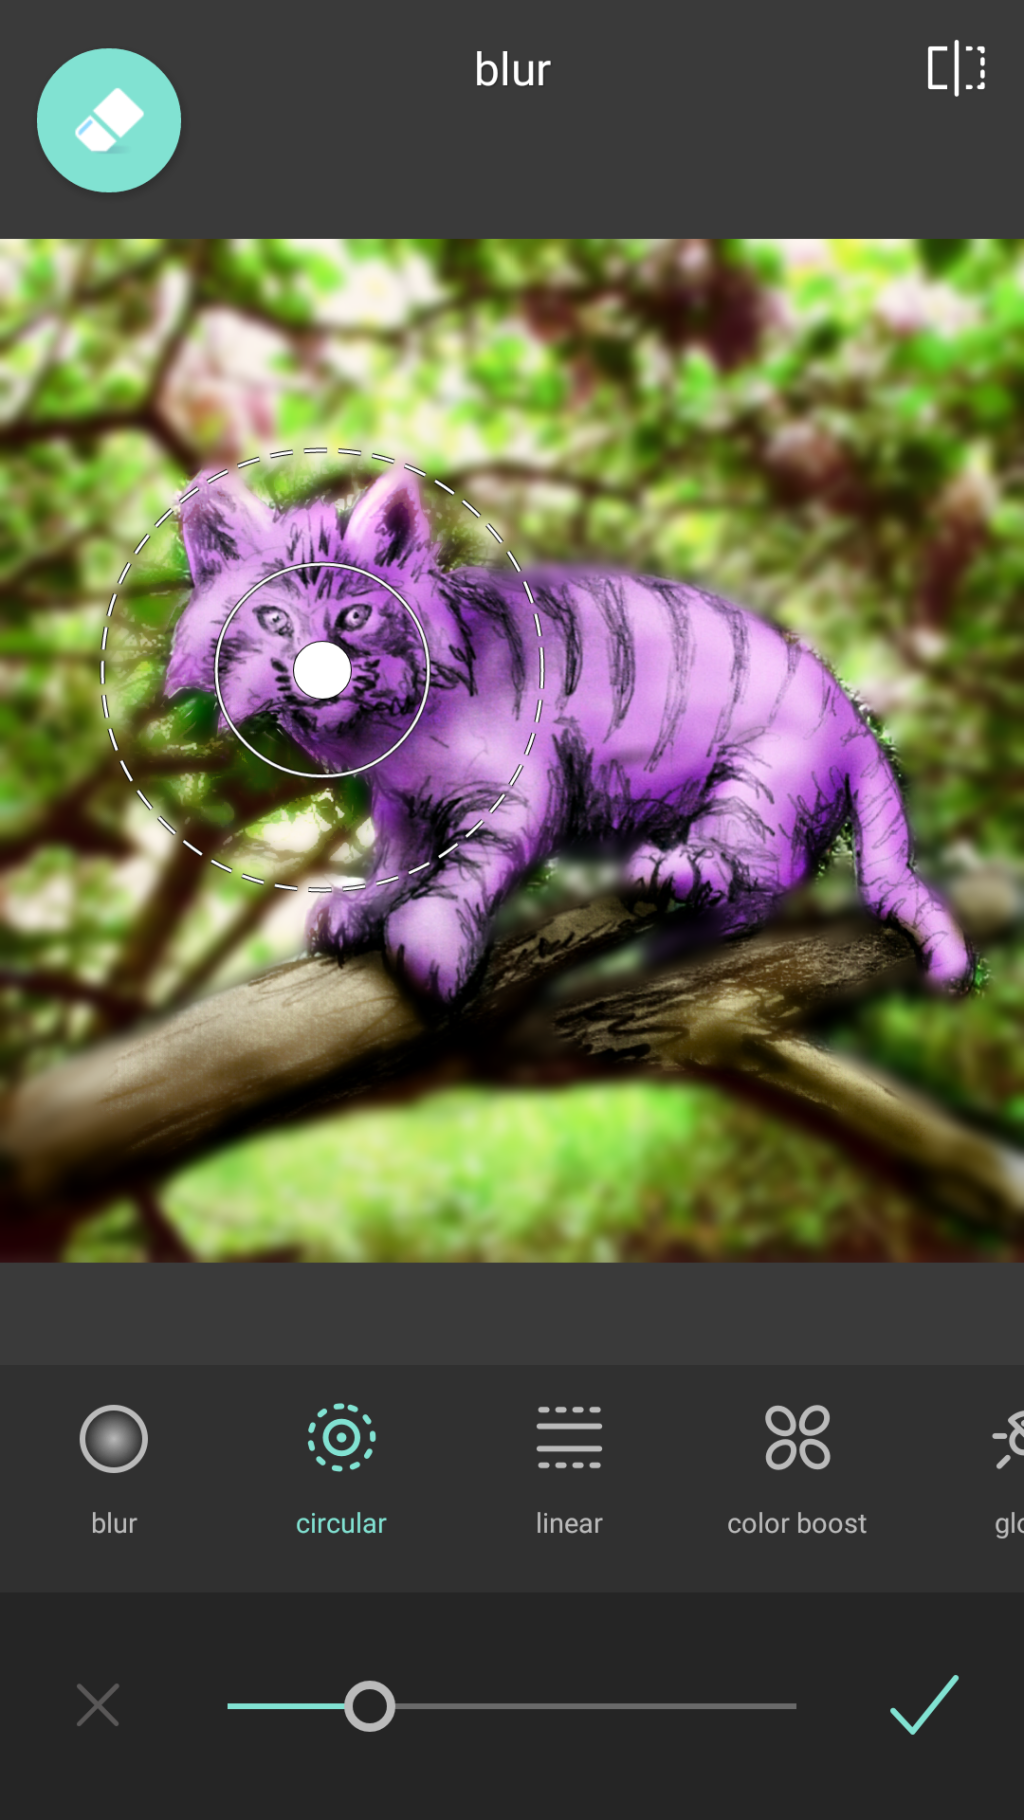
Next go back to the tools menu and this time select blur.

I switched it to circle so we can have more and optical perspective bluring. Like always erasing will be a neat truck here because we can choose to erase the effect on parts of the cat making him pull forward while still feeling like it exists in the space.

After your erasing and painting you can still shift the Hotspot and the inner and outer rung to adjust how gradient the blurring is and where it starts.

I won’t use it this time but there are some other neat features like color boost, glow and a linear blur instead of circular so make sure you check those out too.
At this point you have an image that is starting to feel nearly there but can still use some minor tweaks and finishing touches to really give it that strong finished feel. Tomorrow will be the last installment of the webinar where we move to lighting effects and framing. Thank you for following and I will see you on the next page…

Leave a comment