
We have reached the final post for this webinar and remember if you have any questions, even when it is over, you can either message me or comment here and I will do my best to answer your questions. So let’s get this last leg done.

So selecting layers > effect > soft we see these glamour shots sort of filters that make everything all warm and fuzzy.
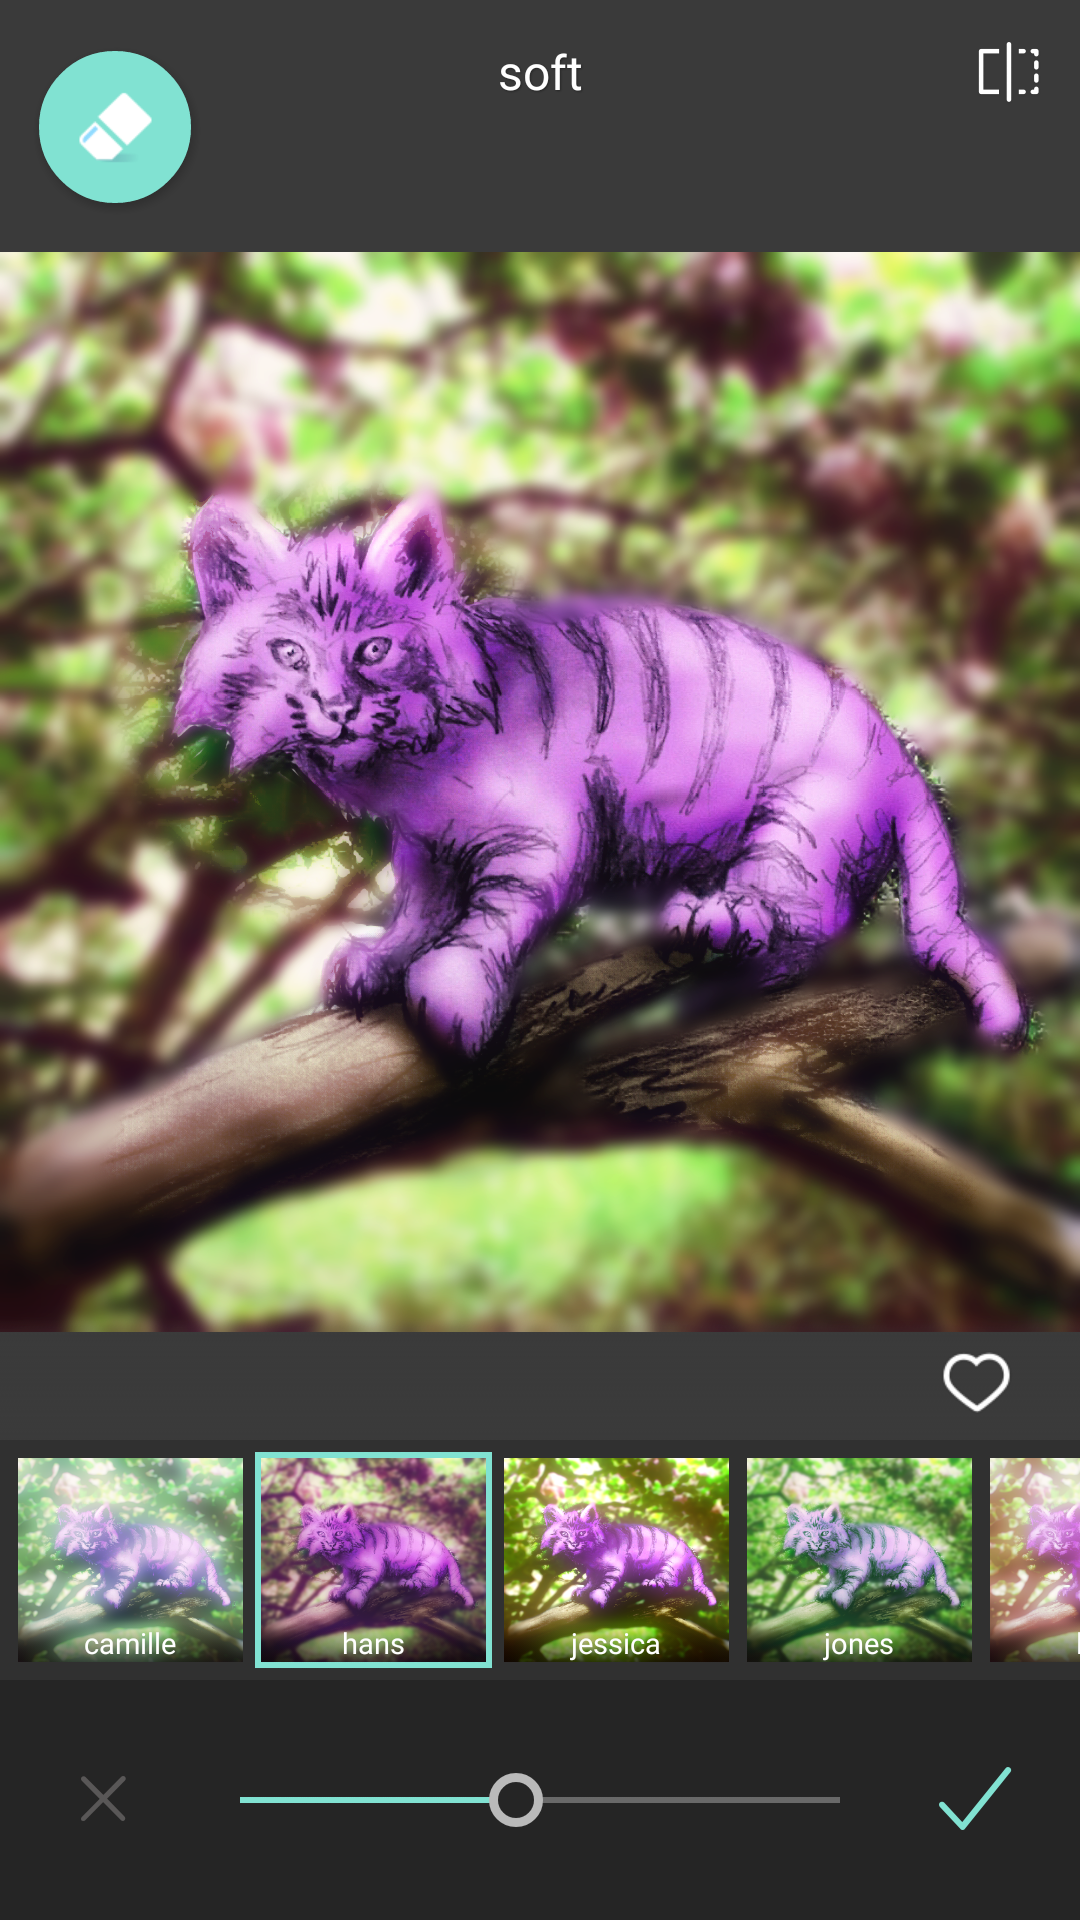
I selected Hans because it gives that warm soft light across the scene that ties it all together. This time no erasing because I want it to really unify the whole image by giving it a common hue. I will tone it down though as everything I will do will alter color from here on.

Next we go to layers > overlay > Chem burn. While these are to be a mimic of chemical mishaps in traditional exposure of photography they also can be used for amazing lighting effects.

Early looks like… well an early morning sunrise. Warm and fuzzy right. It is however in the wrong spot for what I would like.
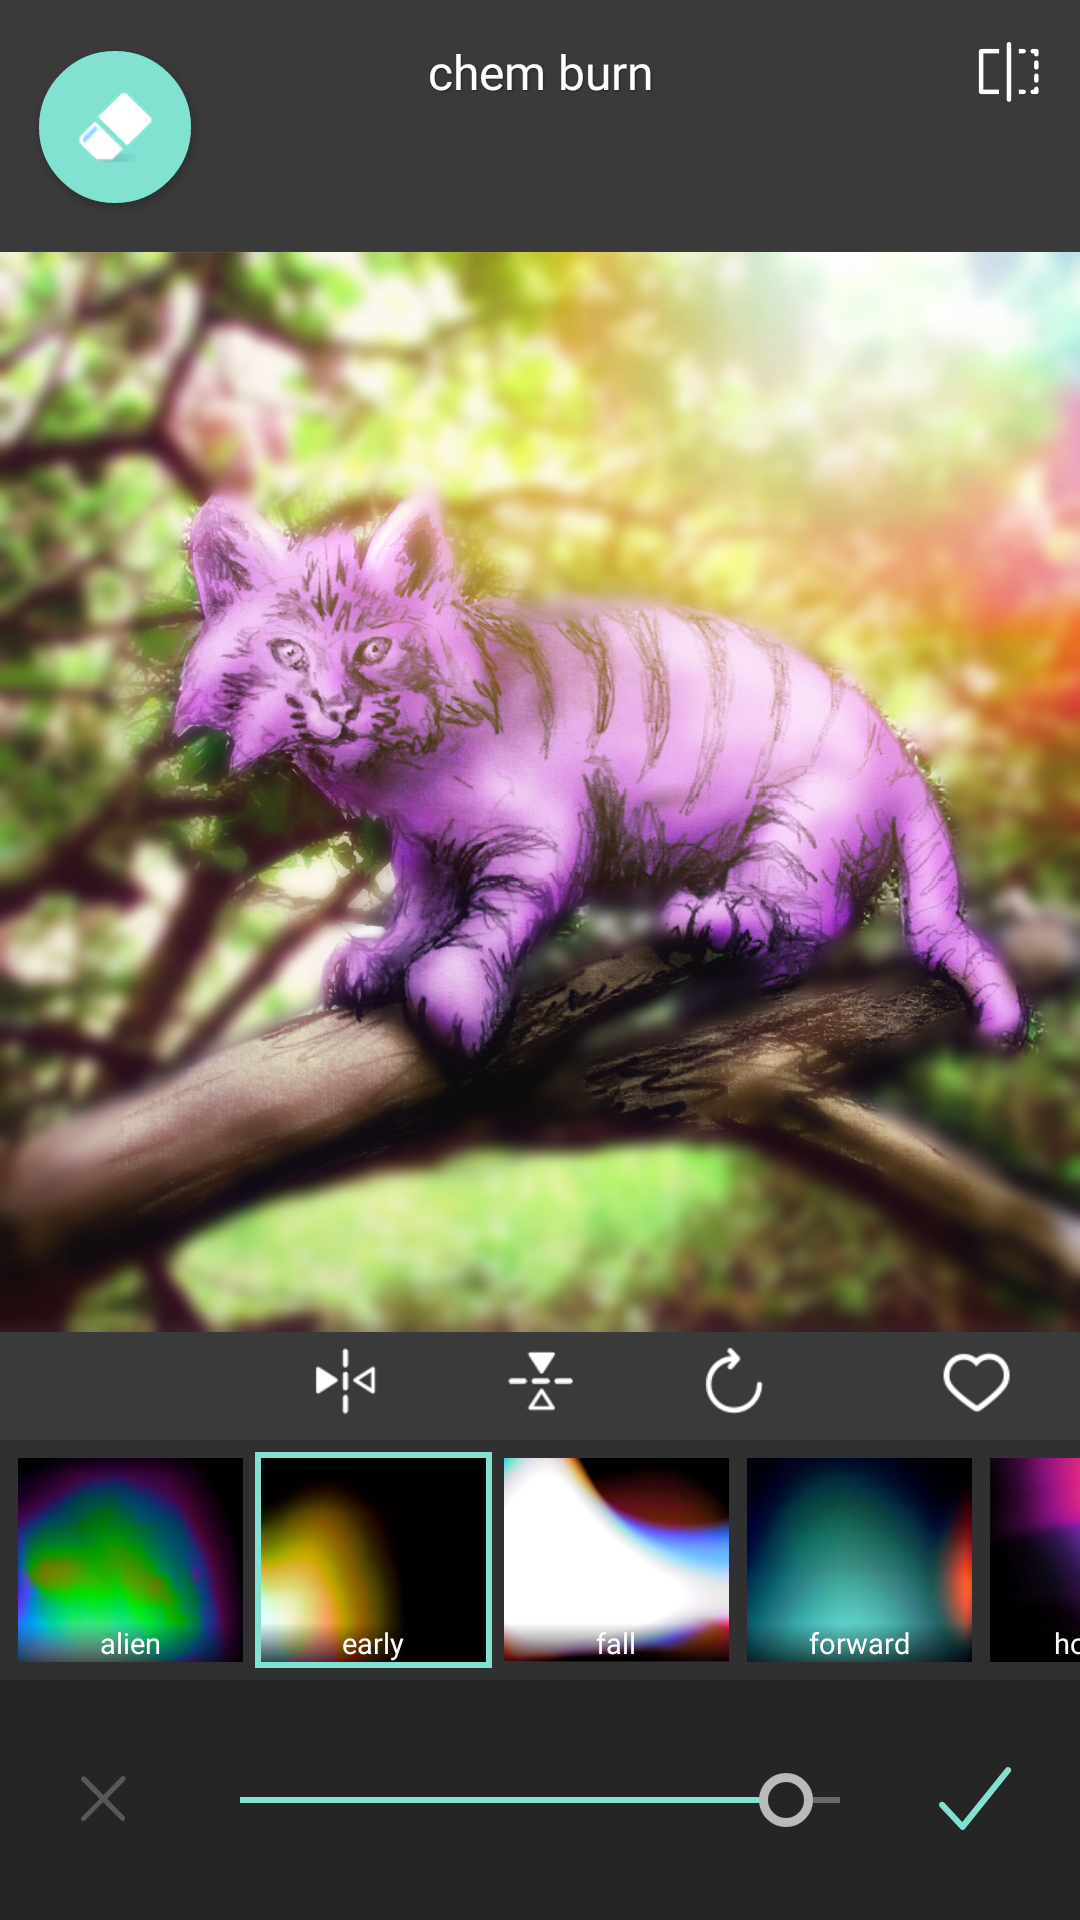
Rotating and flipping I place it where I want and tone it down just a bump. The edges of the cat are starting to bother me with the contrasted graininess that is starting to stick out so go back to the blur tool under tools.
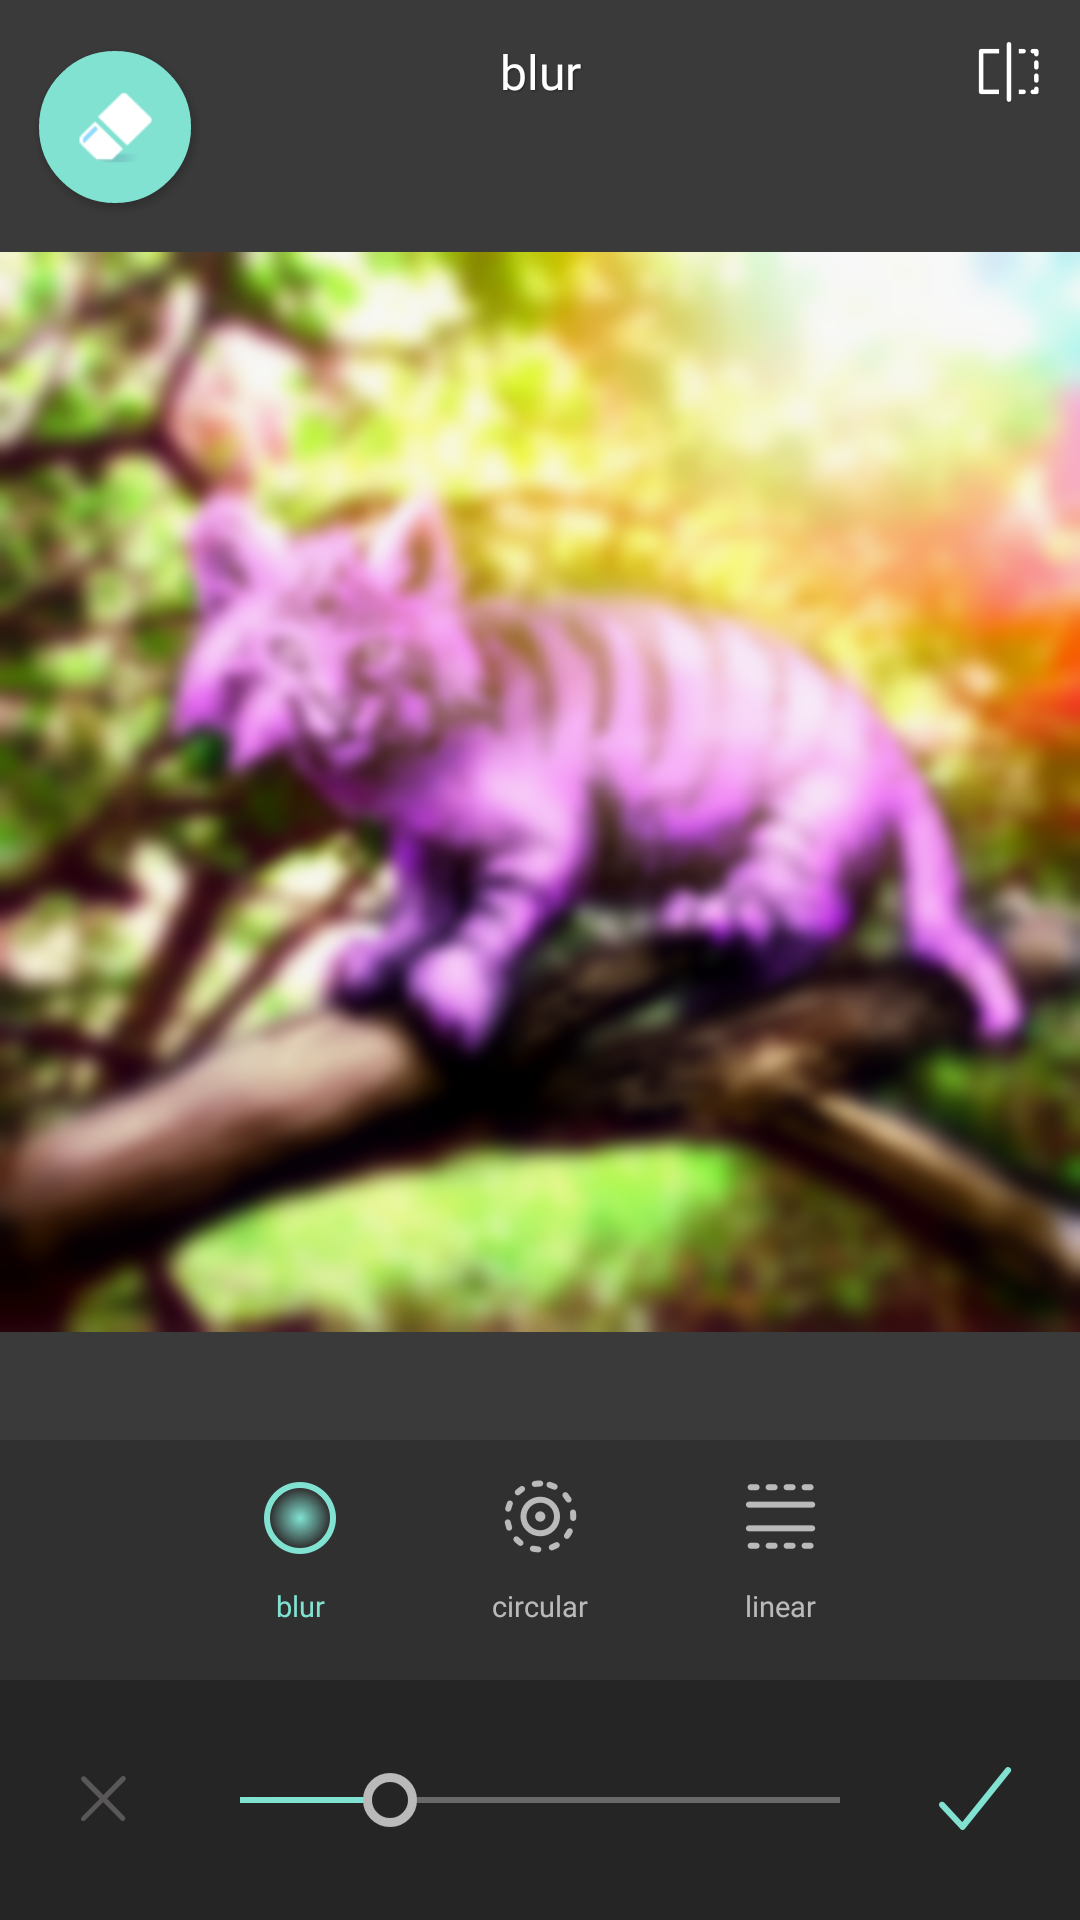
Erase out everything and just paint where you want blur. Think of it like a touchup tool.

Take your time to make sure you are not blurring where you don’t want or not enough in areas.

Once it is where you like it. Hit that checkmark and it is on to frames.

There are so many frame choices as well seasonal ones the company has been adding. So under frames > default I am going to select film for that letterbox feel.
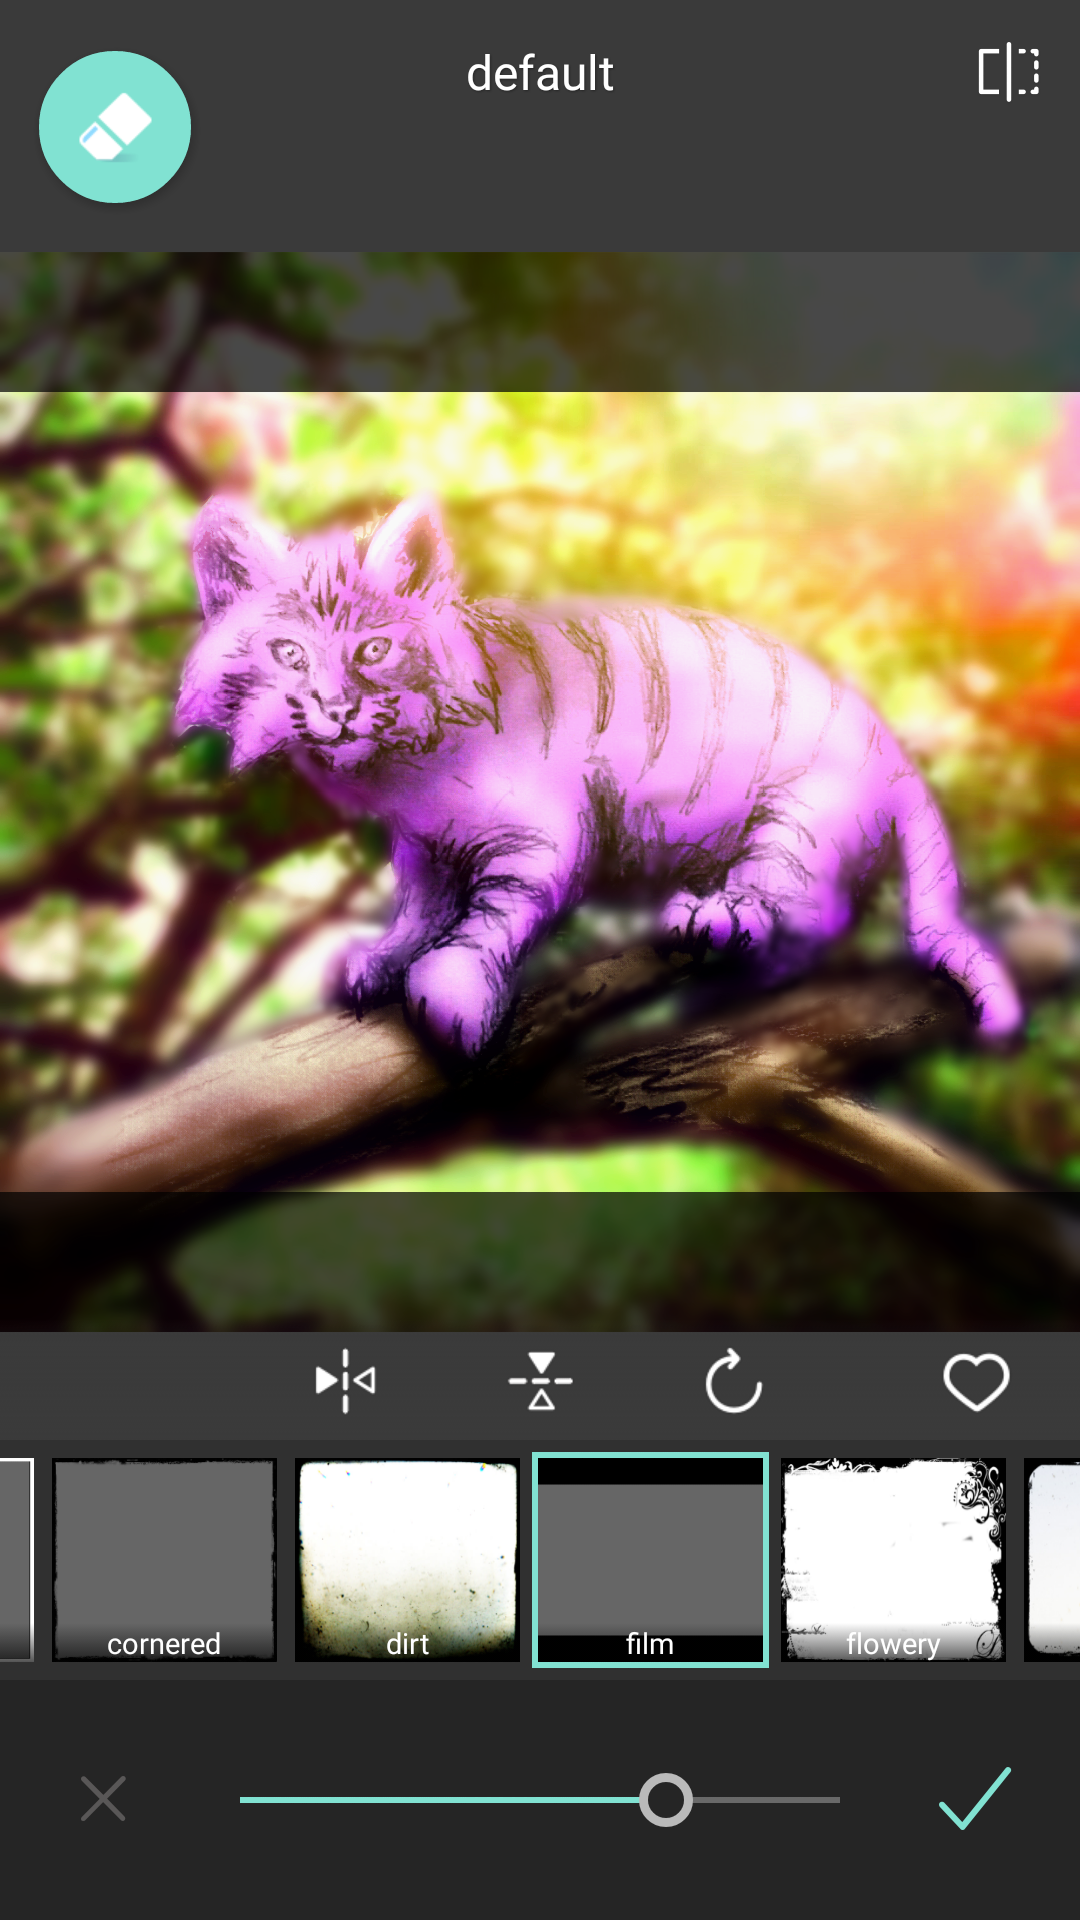
Now notice here something really cool. I can control the translucency of the frame! Sliding to the right makes it solid black but I like the framing without losing part of the drawing I did so I played with it till I found the right balance. I also have to point out that the eraser tool is still there meaning if i wanted to erase out parts of the frame that is an option. While I won’t do that for this project there are so many cool scenarios you can use that erasing tool on frames for awesome effects.
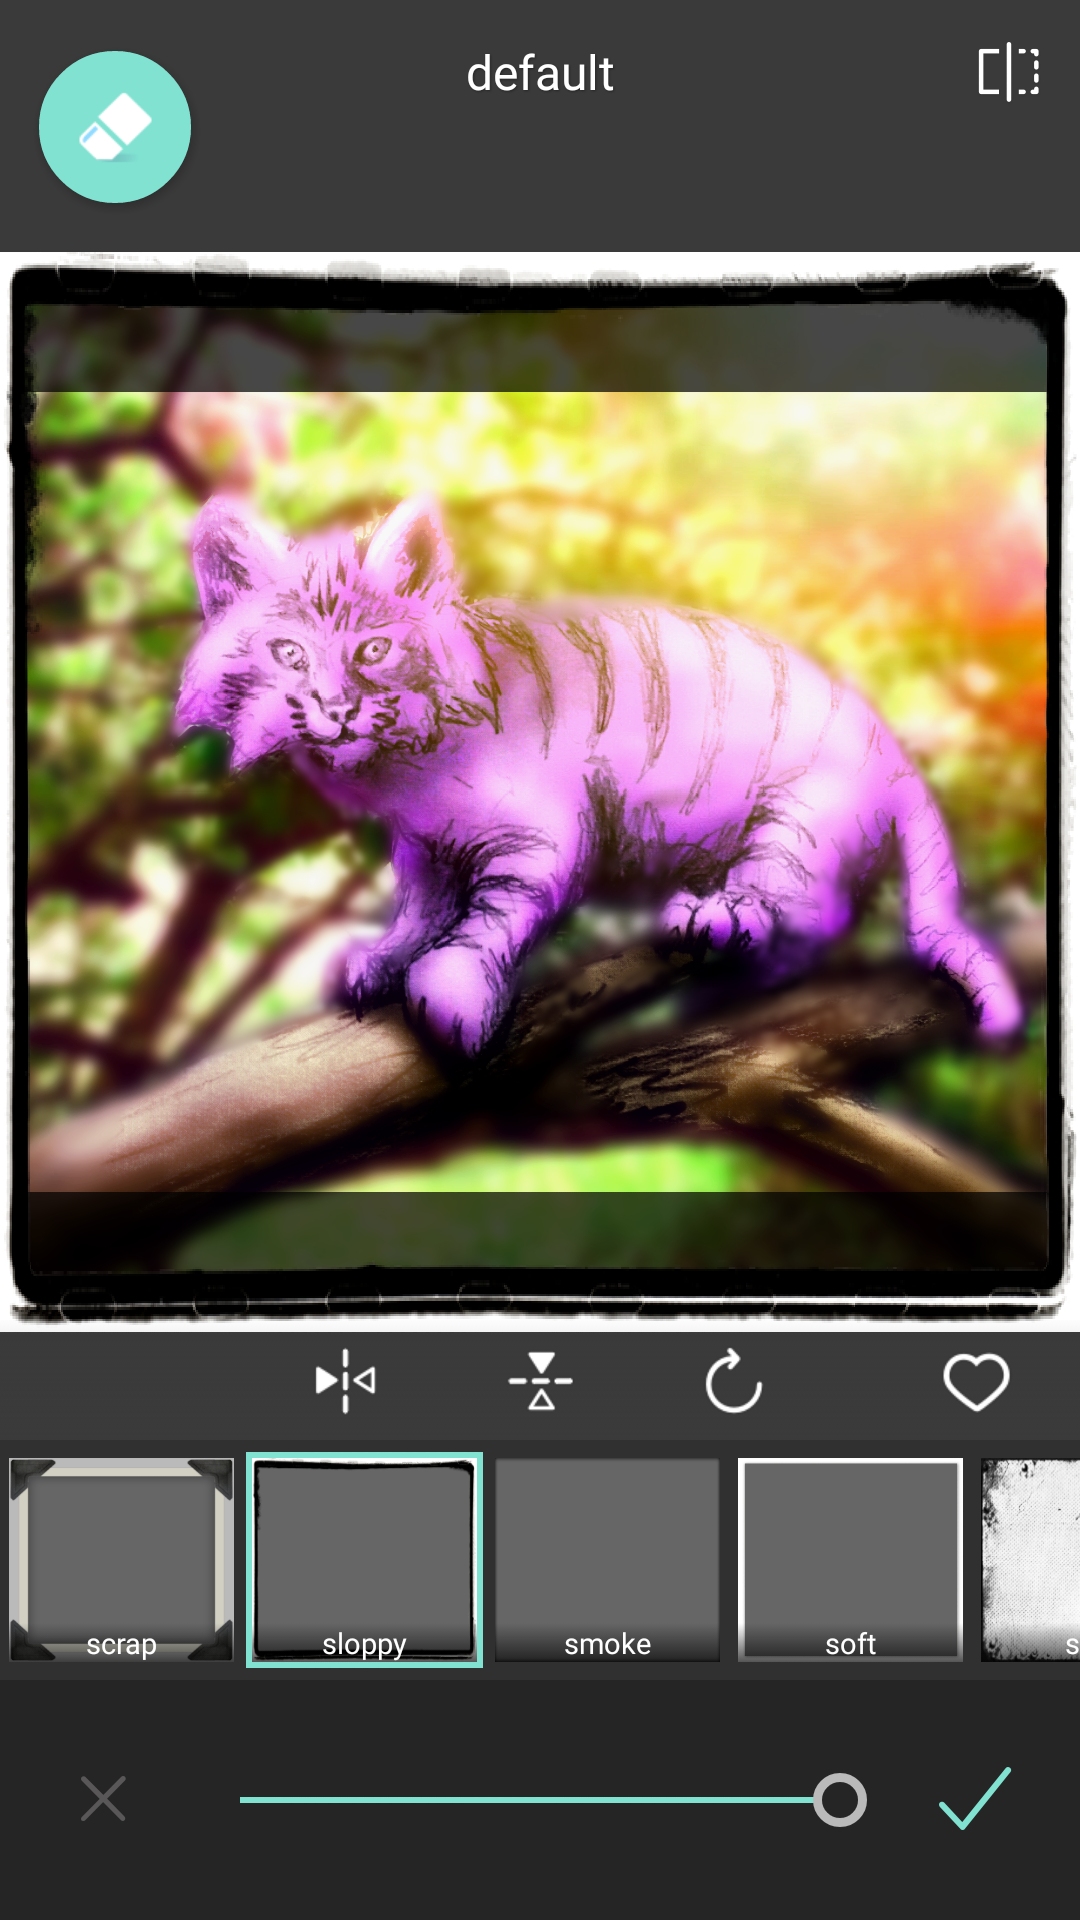
The film frame wasn’t enough for me so I added Sloppy on top to really give it that complete look I wanted.

So here we are at the end so hit done and save BUT WAIT. Just because you are finished here doesn’t mean you can’t important into other apps for photo after effects. There are so many photography apps that you can add some finishing touches with this so play around. I personal took it into Insta Lens Flare to add some extra pop to that sun breaking through the trees.

The sun is pretty bright shinning down on our warm and fuzzy Cheshire cat. I did a couple touch ups and gave him green eyes for this too using the same methods you have learned. Here is the before and after so you see the initial drawing compared to what was done with a couple apps on a phone.

I hope you found this educational and enjoyable. Just because the webinar ends doesn’t mean I will stop posting though so come back tomorrow for new content and your nearly daily dose of bite sized art. See you on the next page fans….

Leave a comment